 |
Navigation help for Level-articles: Levels
Remember that by reading further then the Overview you might get exposed to spoilers! The Wiki intends to describe every little detail and background knowledge (as soon as available and verified). Detailed help for Trophies, Glyphs and Symbols are given under that headline. In the Sections part, there will be just hints. |
Remember that by reading further then the Overview you might get exposed to spoilers! The Wiki intends to describe every little detail and background knowledge (as soon as available and verified).
Detailed help for Trophies, Glyphs and Symbols are given under that headline. In the Sections part, there will be just hints.| Tower | |
|---|---|
| |
| Details | |
Level#/Abrv. |
6, Tower |
| 4 | |
| 1 (besides those you need to activate | |
Sections |
Vertical Temple Whale Room
|
Keywords |
magic goo, floating, storytime |
Tower is the level, where you have to activate images to raise magic mist to help you climb up to the top.
Alternative Names:[]
The Temple, Ruin, Up-temple, Underworld Temple, Underwater Temple, The Cistern
Overview[]
![]() A Black Cloth bug can appear in this level, this sometimes indicates that you can get infinite flight!
A Black Cloth bug can appear in this level, this sometimes indicates that you can get infinite flight!
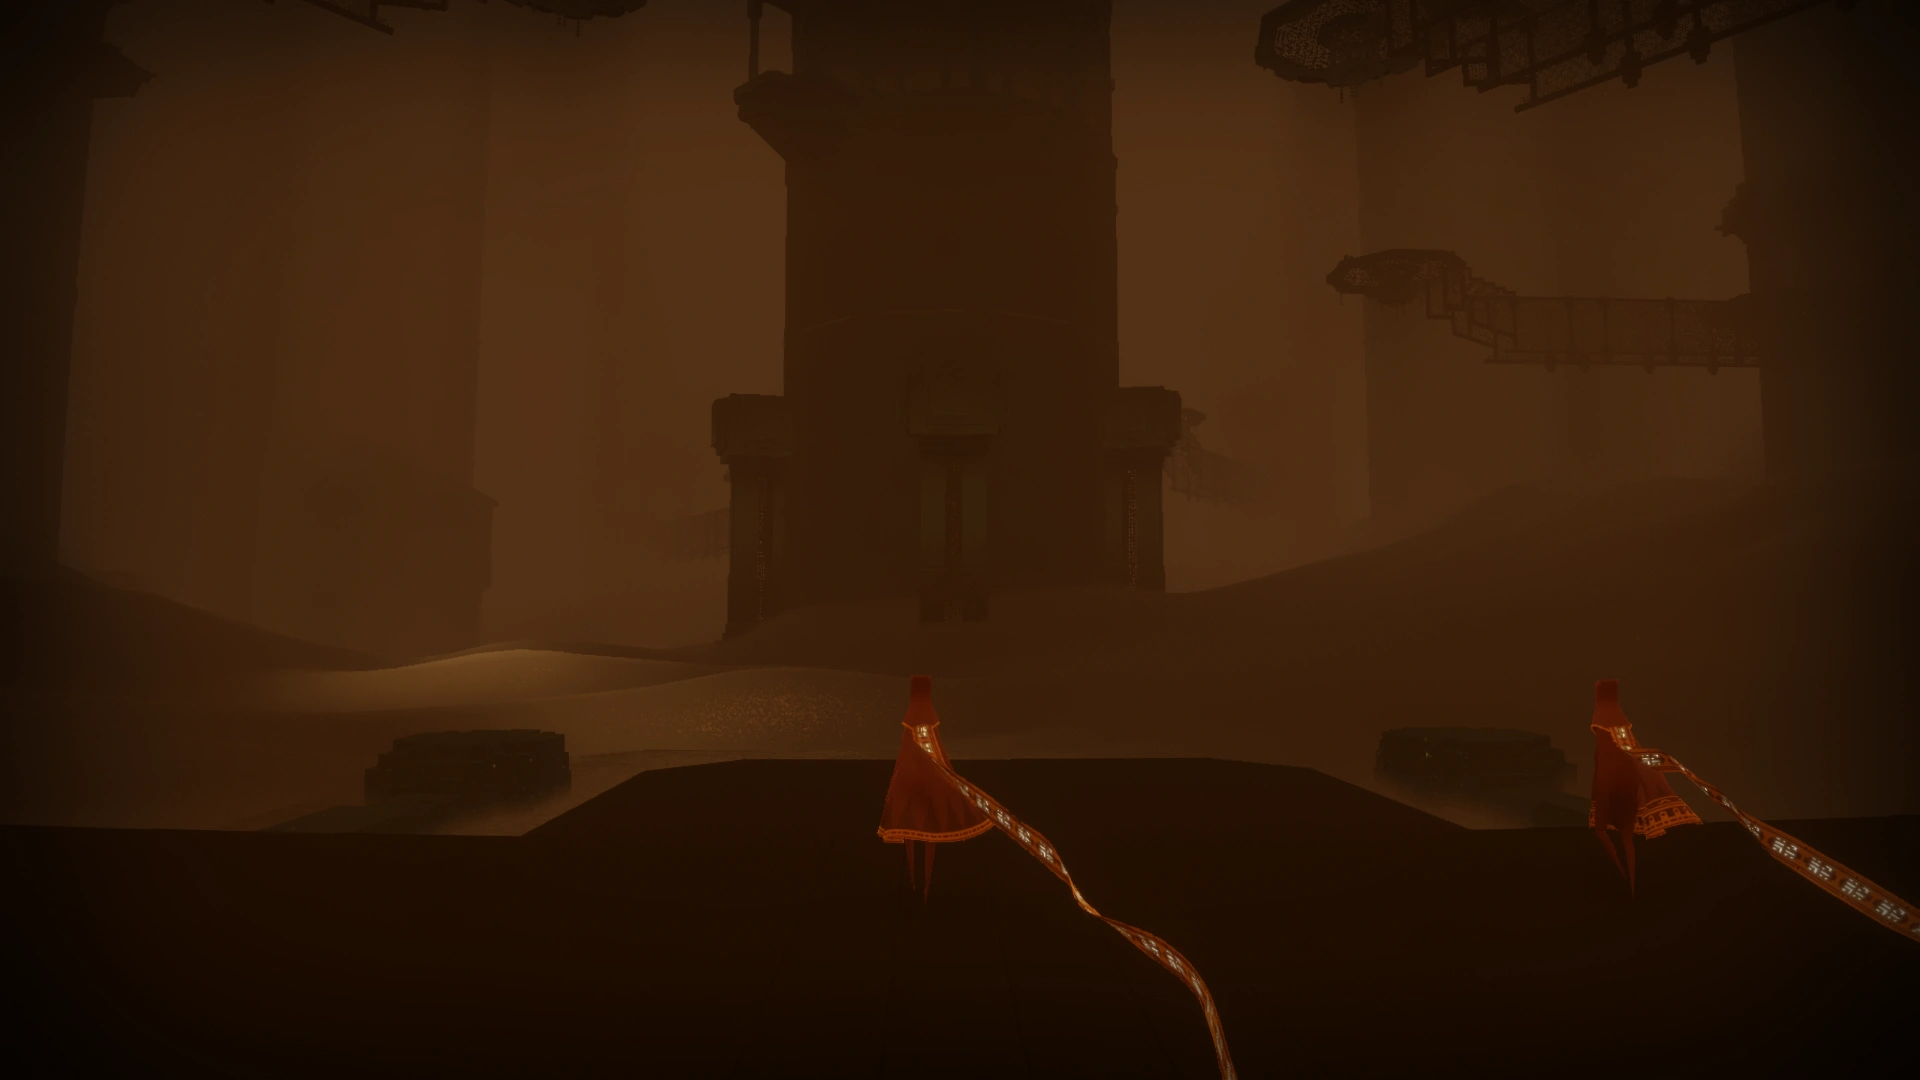
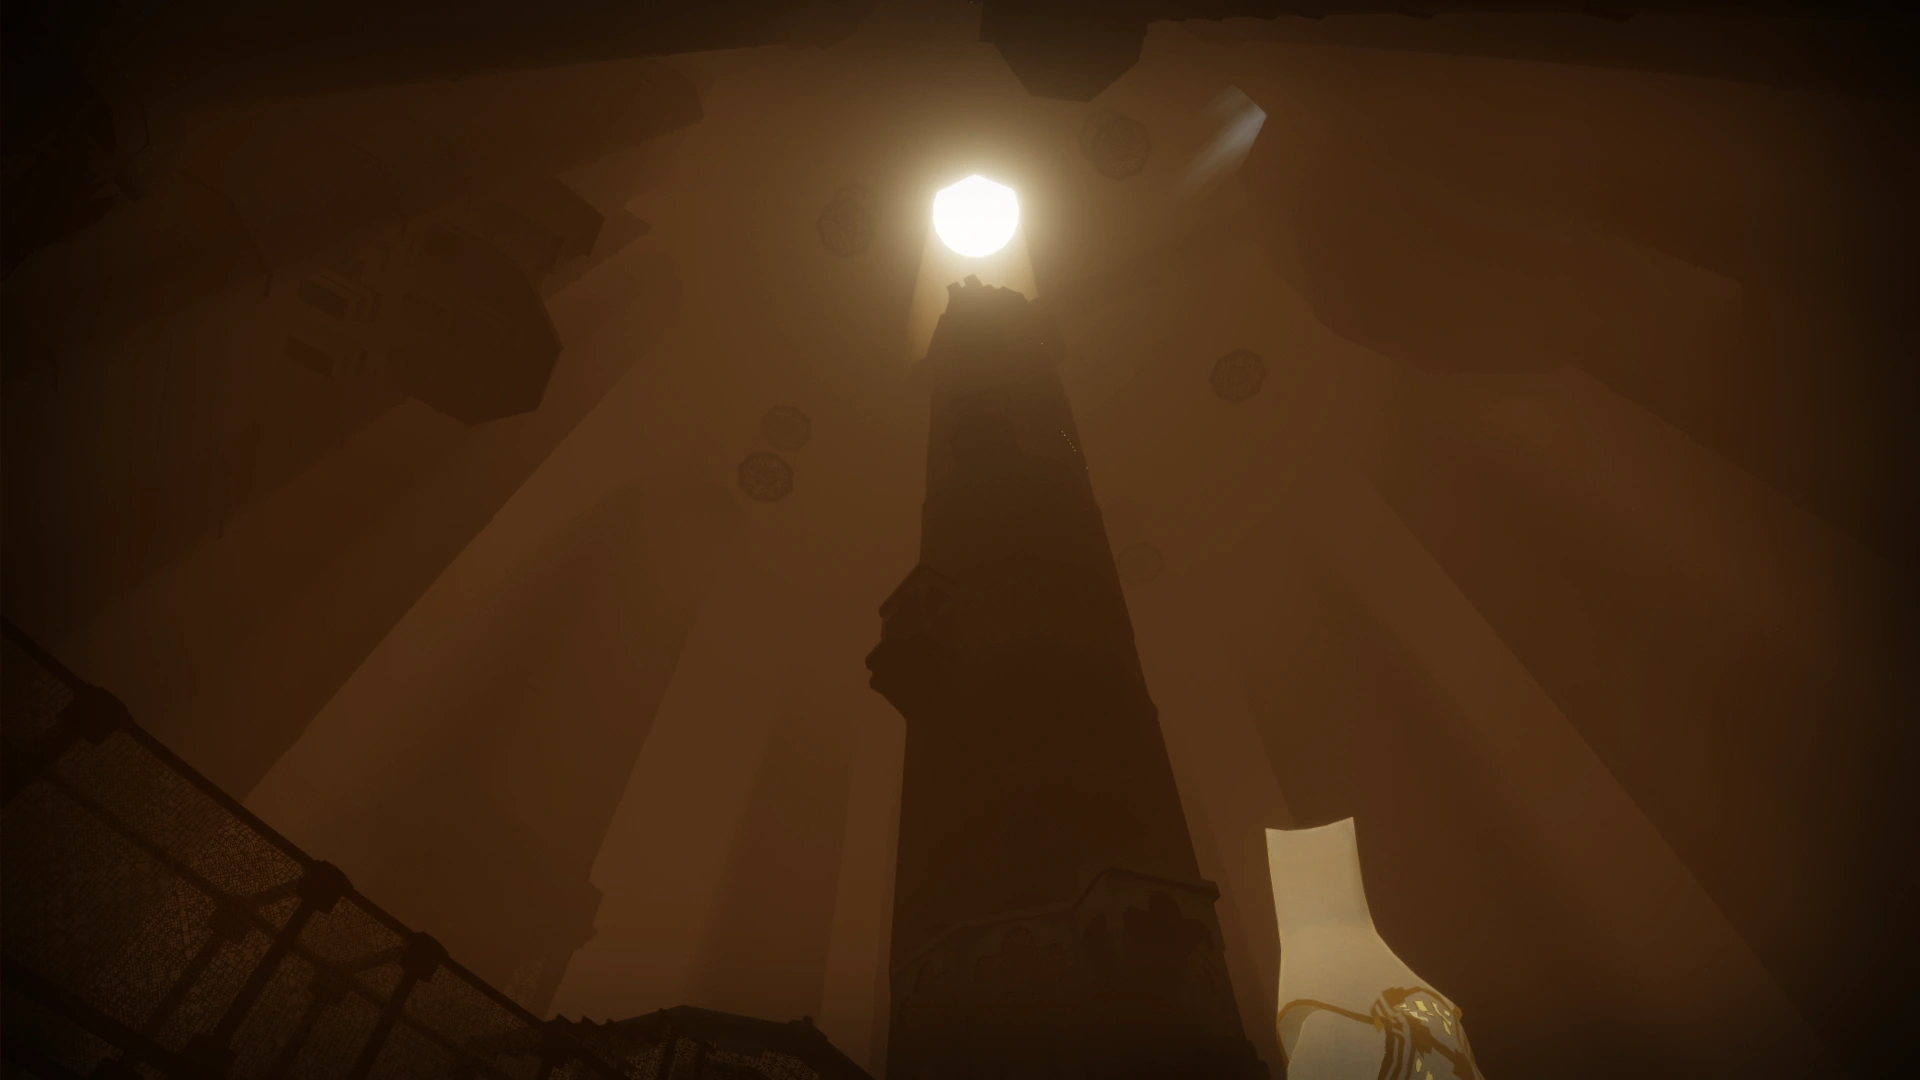
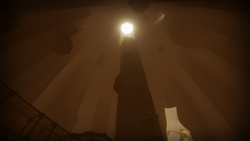
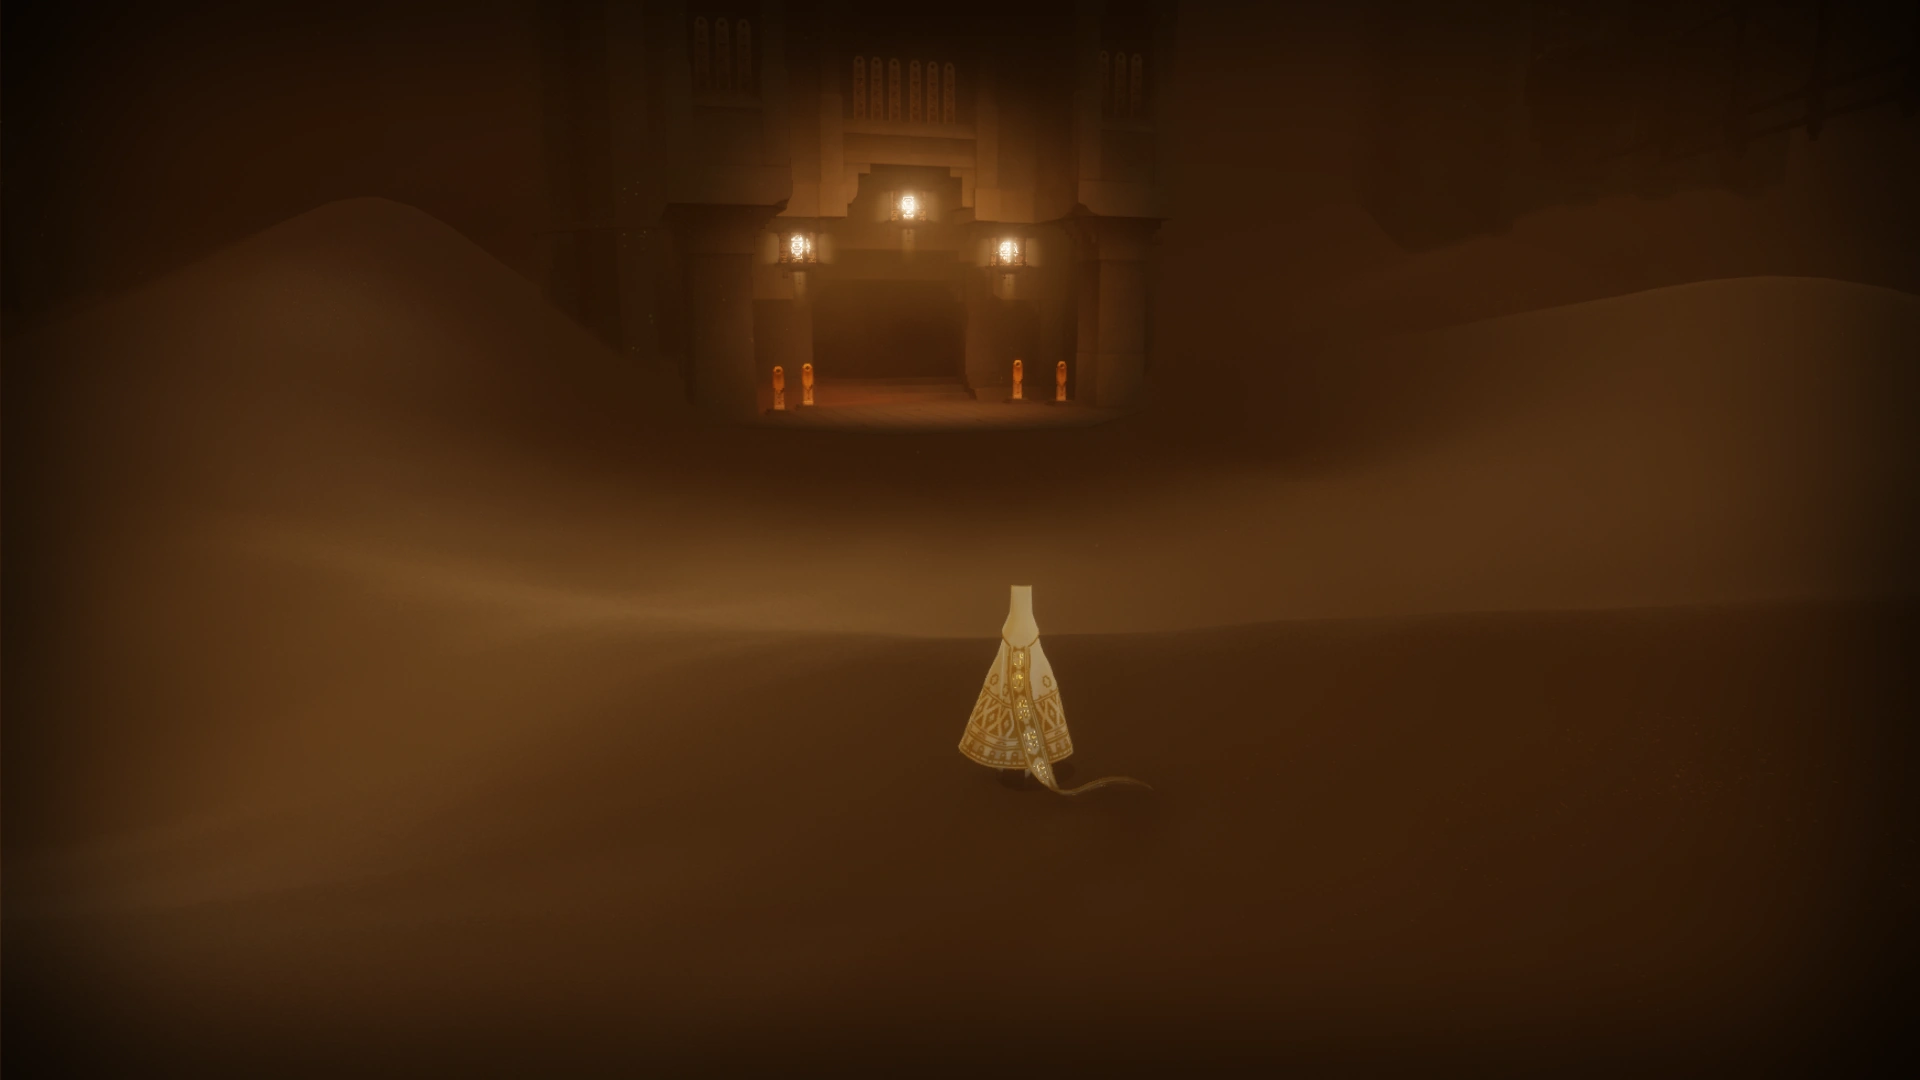
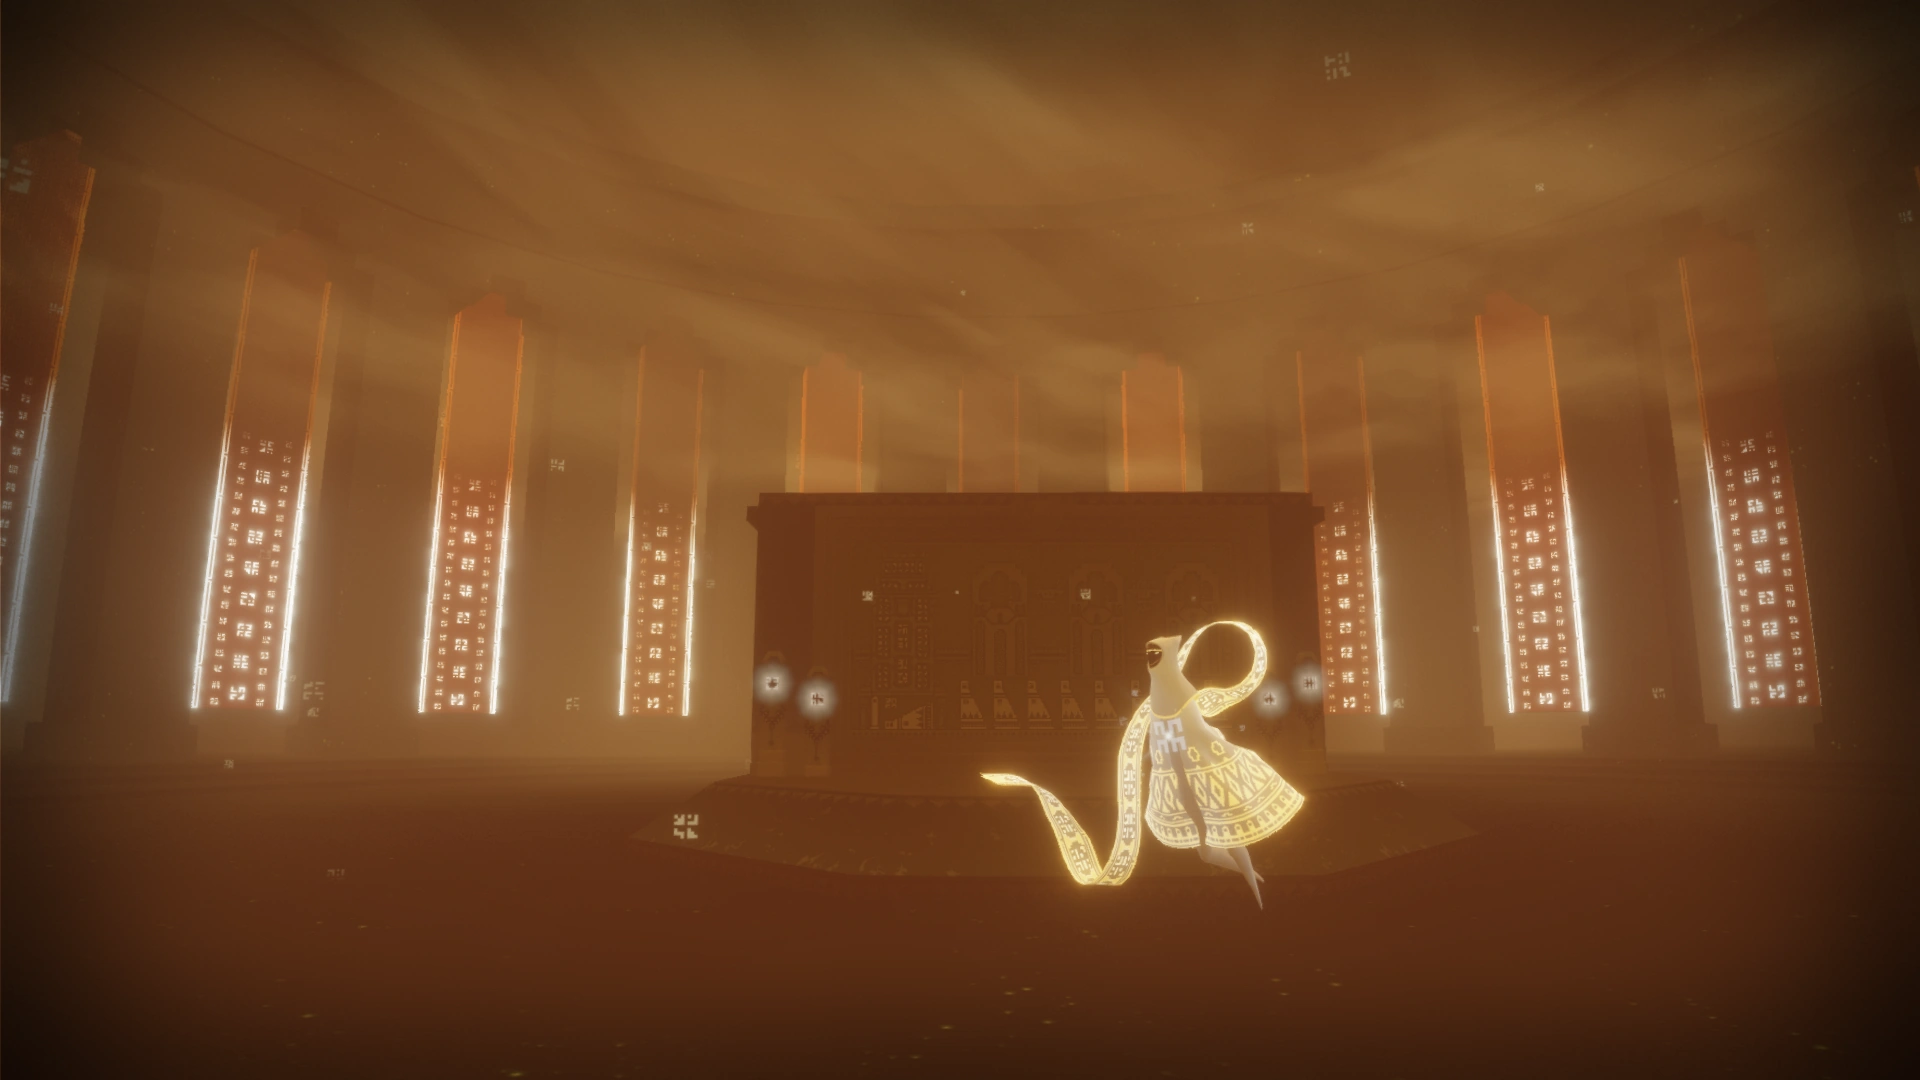
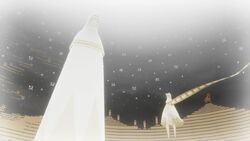
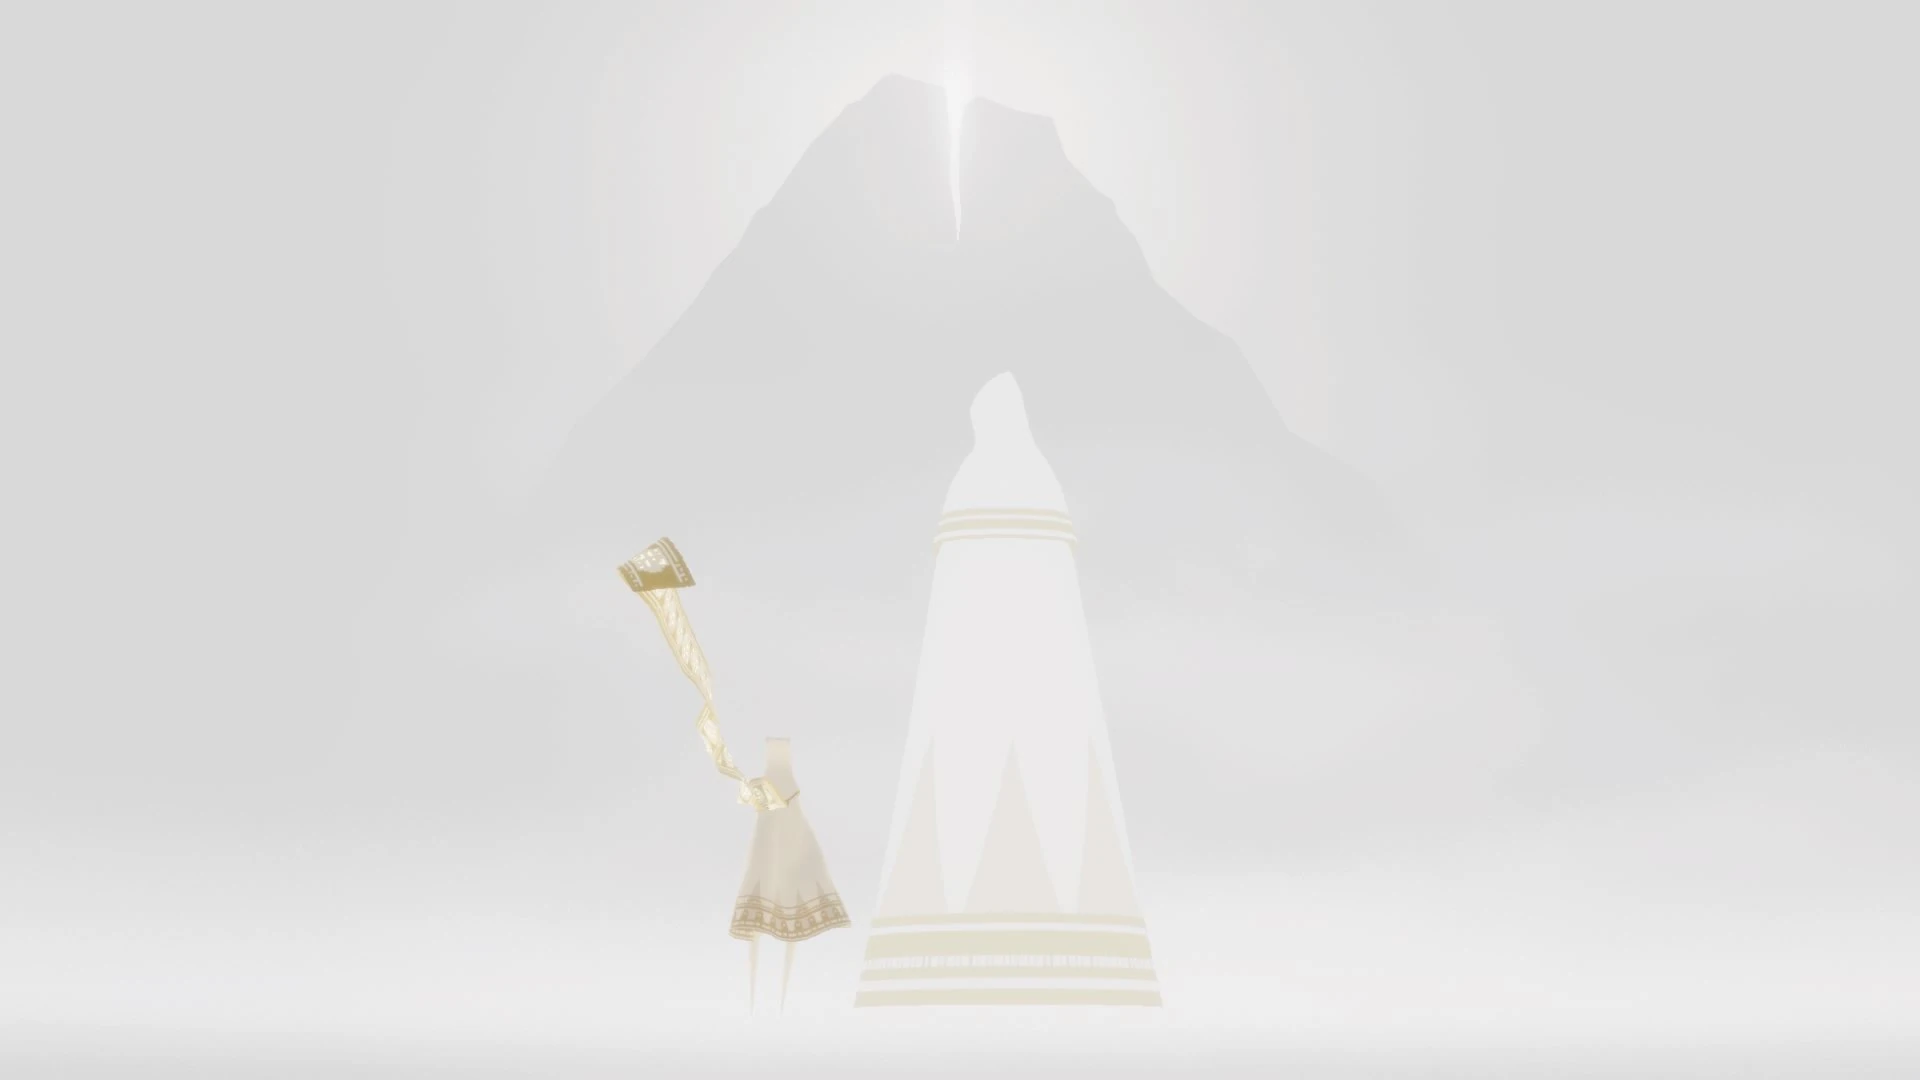
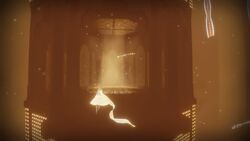
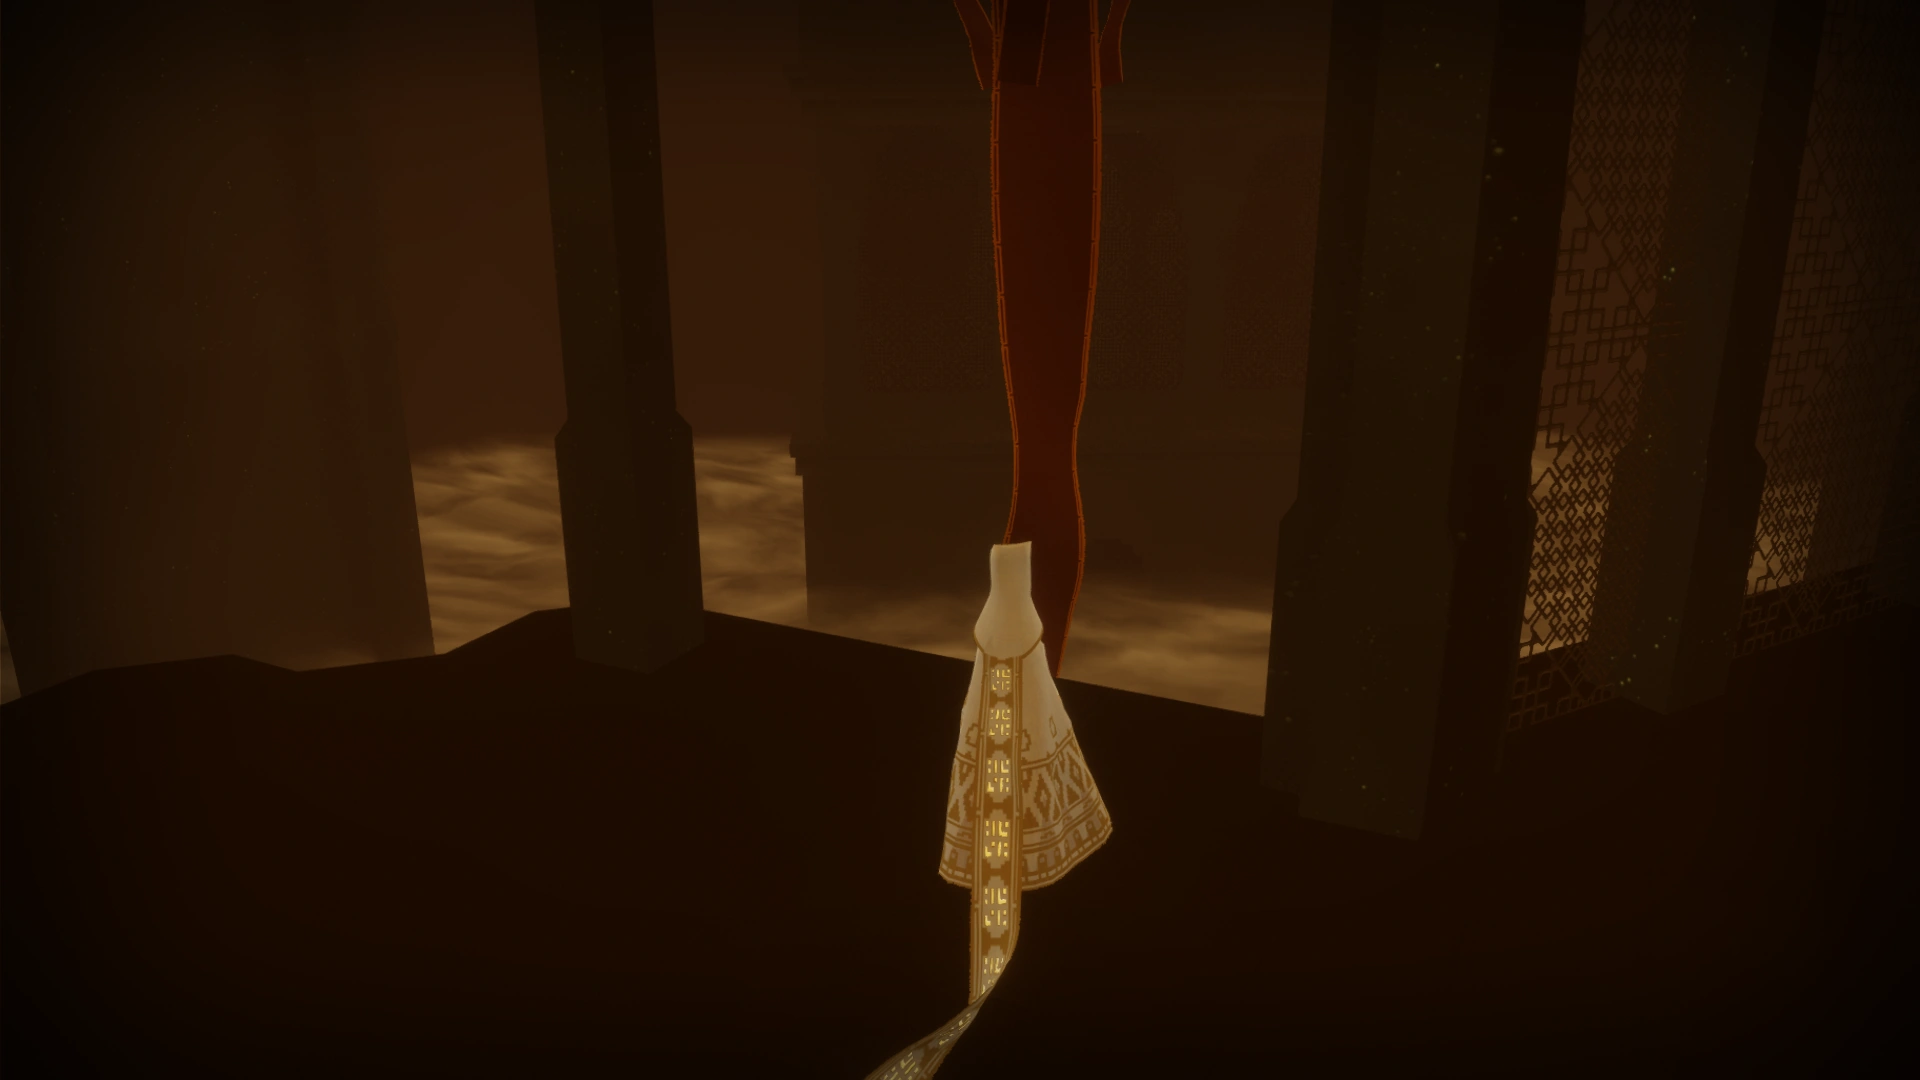
Through the corridor from Underground, you enter a mysterious tower, it has a "core" tower in the middle. After the game showed you the Tower from top to bottom, some lights will hint to the first Glyph to activate.
Each activated Glyph will raise the level of the magic fog / goo - in which your Scarf gets recharged, thus helping you to fly to the next Glyph.
Different cloth creatures will help you to climb up, the camera might hint to Symbols in the middle and at the outer wall of the Tower.
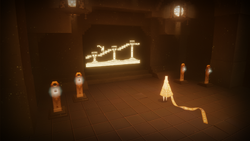
| After first Glyph: CHIRP! Jumping from platform to platform might be harder then just chirping in time at the flyers. Flyers will lift you up, you don't have to land on each platform.
Jump from Jellyfish to Jellyfish and climb them up, they will recharge your Scarf. When the Whale is out, just ride on it. The Whale directly brings you to another Glyph. You might want to find the room, where the Whale came out, two collectibles. After that you can reach the lowest platform there, just through flying and using the Goo. Banner between platforms will build, once you touch them. | |
| Spoilers end here. | |
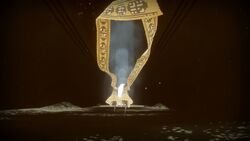
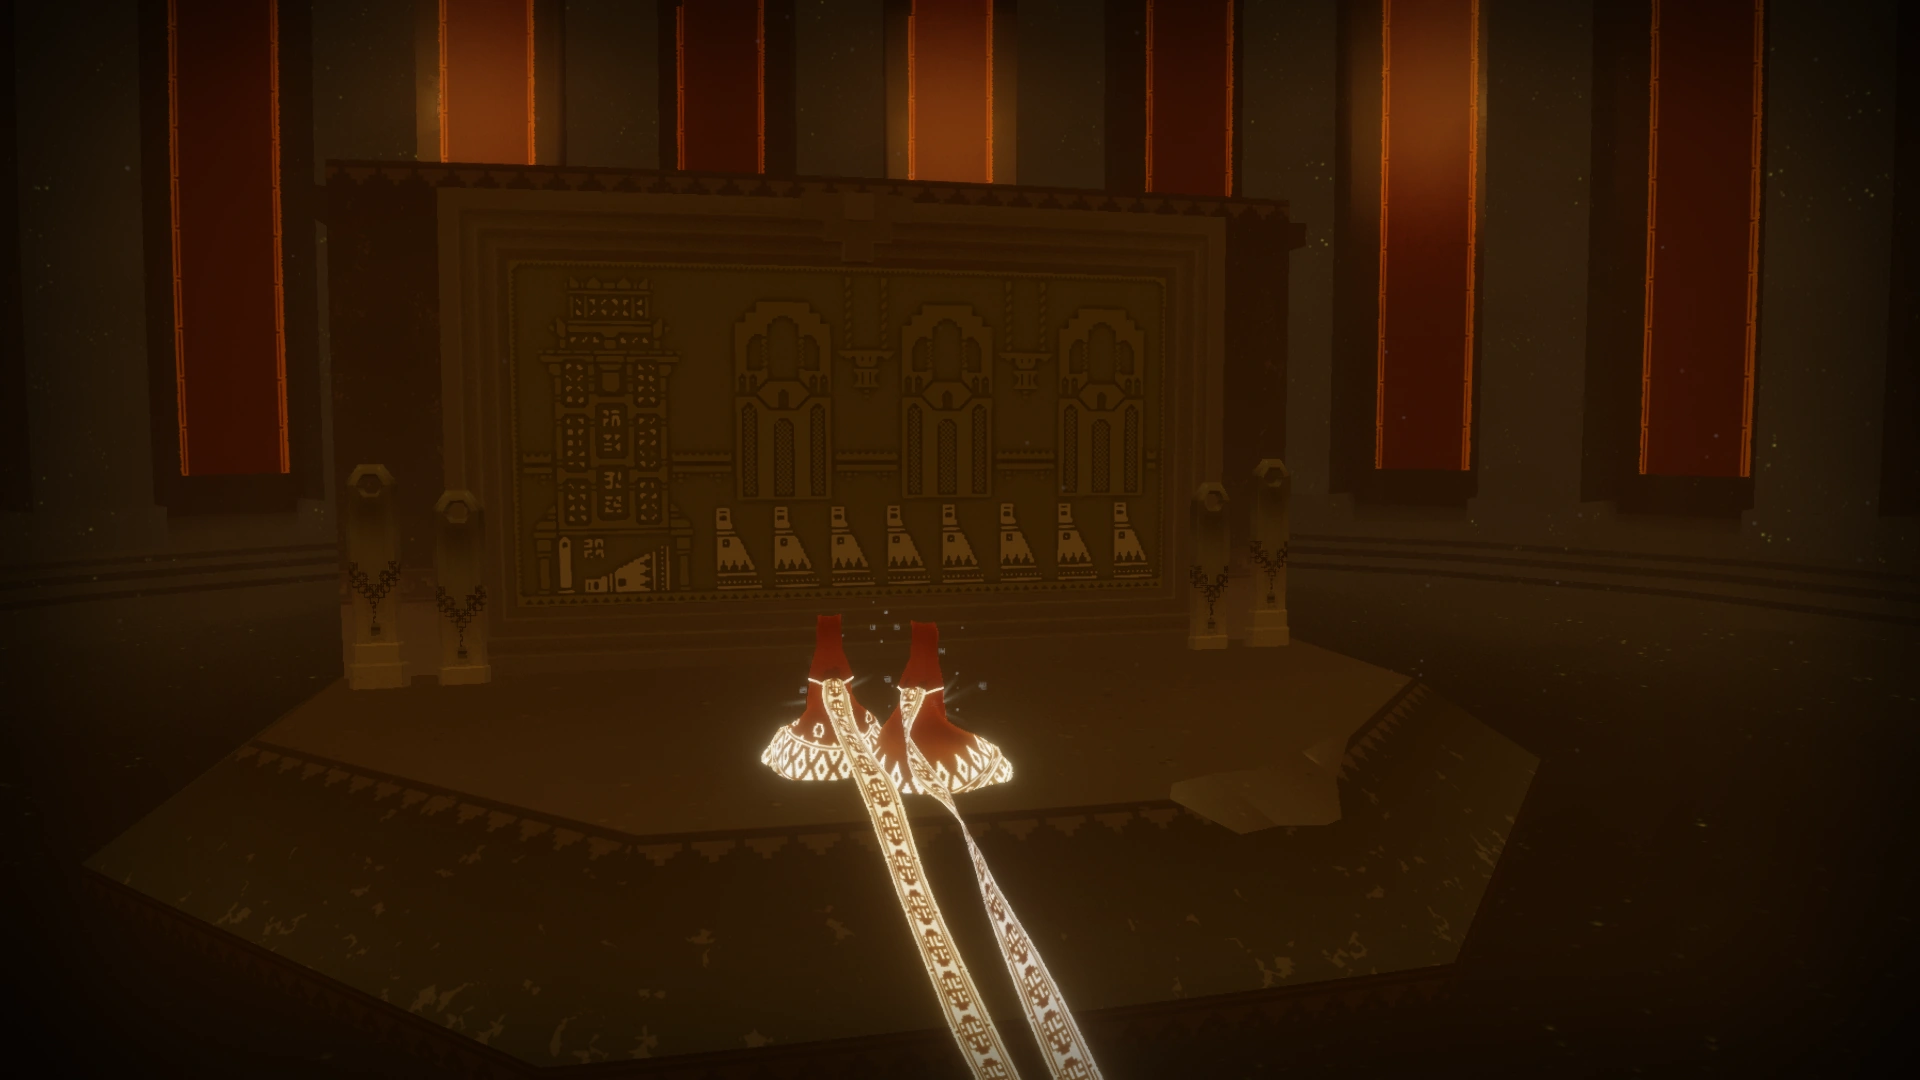
On top of the core is the statue where you will receive the vision. This is the only Shrine where the activation stones are also further away from the statue, at the stairs that lead to the statue.
A bridge will lead to the now open gate and the corridor to the next level.
Sections[]

Chapter Select Glyph

Pink Desert Glyph

Underground Glyph

Broken Bridge Glyph

Sunken City Glyph
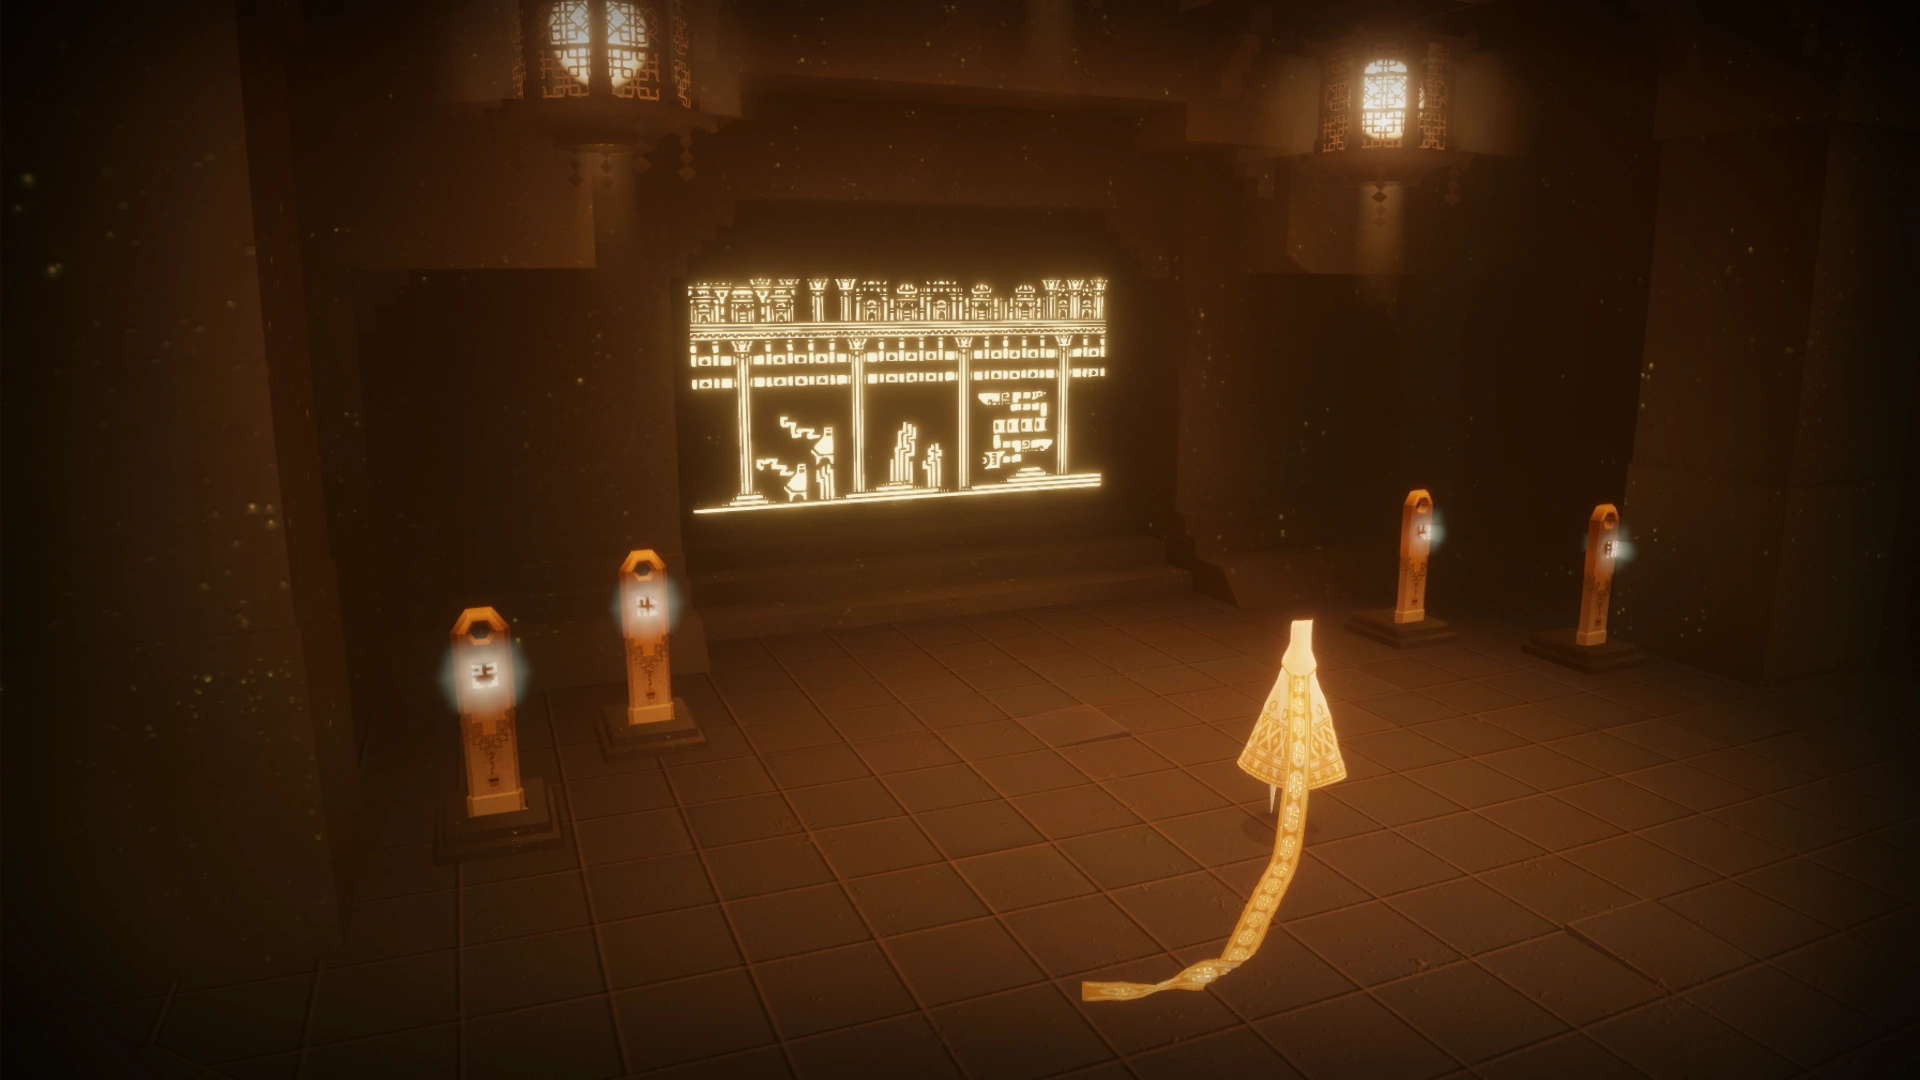
The goo-activating Glyphs in Tower show your own Journey in pictures, even showing if you were alone or together in that level.
The core is intermittent by several rooms.
Goo raising happenings:
- rooms in the core, will be flooded with yellow (energy?) particles or the gate on the floor will open and release carpets
- symbols/patterns on the walls at the core and on the outside walls will start to glow, once goo is raised.
- Jellyfish appear right after activating the Glyph, not directly through Goo
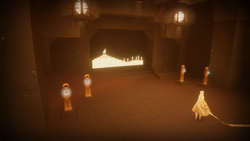
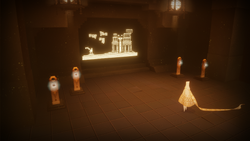
An interesting fact about the Glyphs: they do show the past levels, but not in the order of appearance. On top of the Tower, one can see big rooms/temples, in those the Glyphs light up at the end. Neither the activation Glyphs, nor the temple ones are in order.
Order of activation (levelnumber):
- Chapter Select (1)
- Pink Desert (3)
- Underground (5)
- Broken Bridge (2)
- Sunken City (4)
Order of the images in temples on top:
- Broken Bridge (2)
- Underground (5)
- Sunken City (4)
- Pink Desert (3)
- Chapter Select (1)
Vertical Temple[]
This is the main part of the level, everything around the core in the middle.
There are 5 Glyphs to activate and 4 rooms at the core/middle part of the Tower.
Glyph 1 - Flyers[]

The first Glyph.
Shows the Chapter Select level.
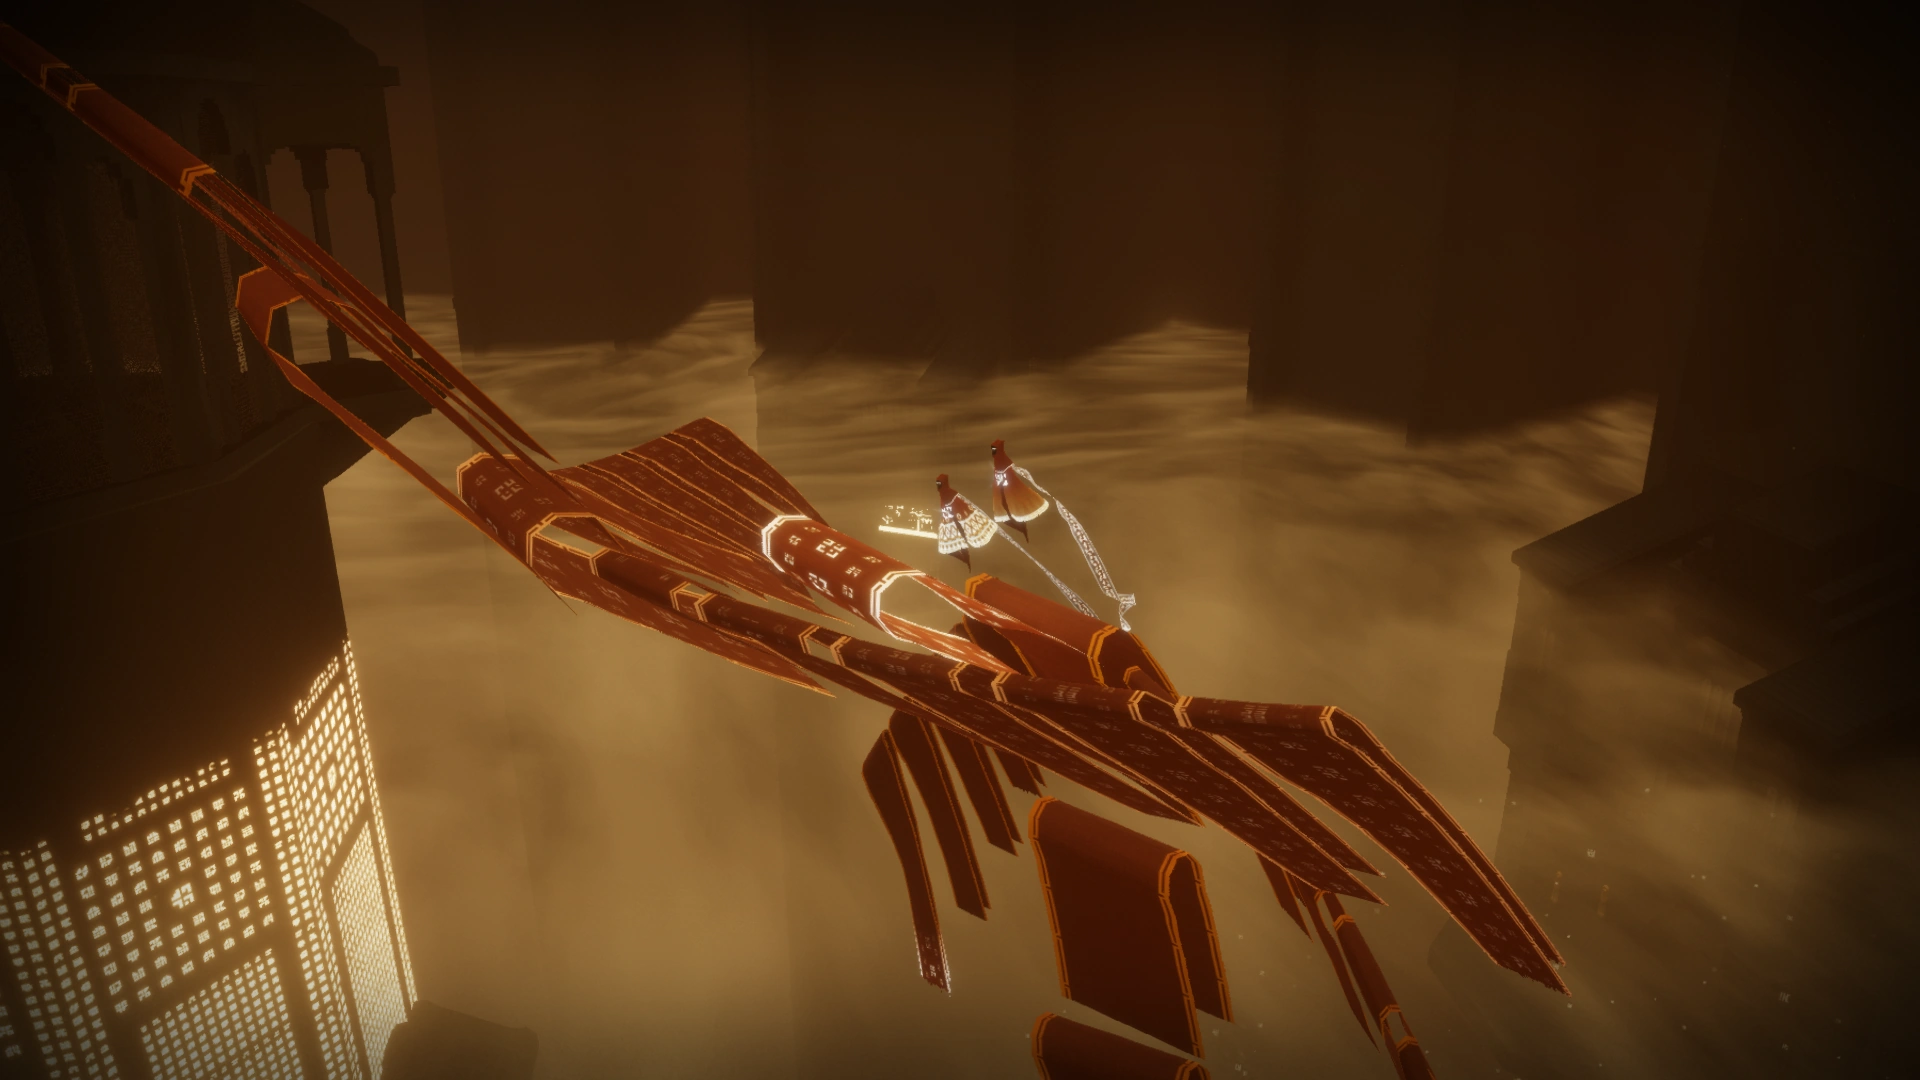
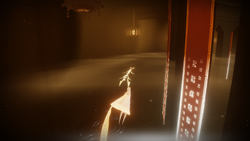
After activating it, the Flyers in the hollow pillars at the tower bottom will be released. Now its easier to get on one of the platforms, with the Flyers hovering above them. Starting by a small room, platforms are mounted to the outer wall of the Tower with "bridges".

Jumping from platform to platform using Flyers.
Each platform is higher then the other and leading to the next Glyph. Upon crossing the platforms, lanterns under them will turn on, each with a little "ping" sound. Around there is also a Symbol.
When chirping at the Flyers from a distance, they will come and charge the Scarf, making the player hover. Pressing forward while chirping at the Flyers before you reach the next platform, makes the come and lift you up. You float over the platforms, thus no aiming needed.
After almost a full circle around the Tower you reach:
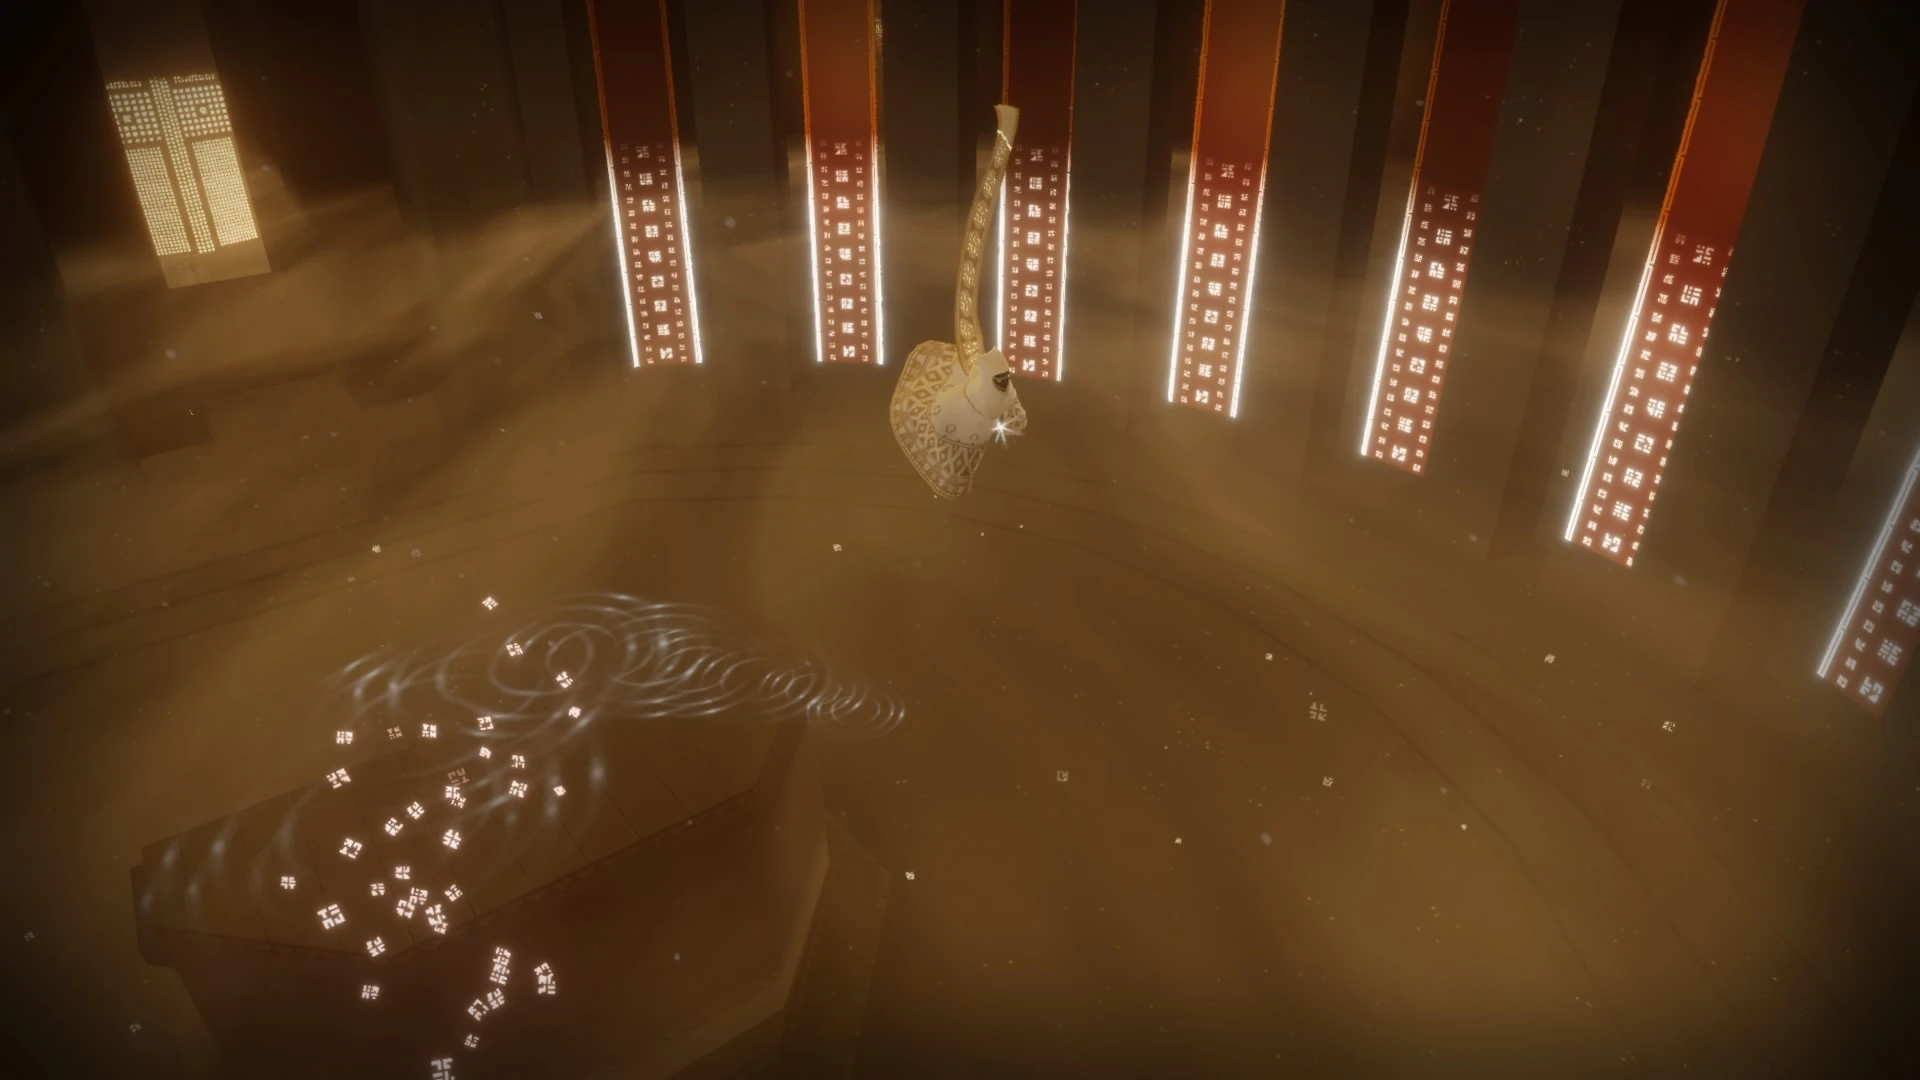
Glyph 2 - Jellyfish[]

Glyph 2: Jellyfish appeared. Way to the next Glyph.
Shows the Towers from Pink Desert level. Glyph 1 will be to the left side.
Room in the middle: Some Flyers and Carpets will be released.
After activating the Glyph, Ten Jellyfish will materialise, they help to get further up. Four to each side leading to the next Glyph and two "left and right" of the room in the middle.
Those two hint to the Symbols in the side temple and the Whale room on the other side.
Jellyfish hover at different heights, start climbing at the lowest and fly from one to one, fly around the core or through the middle room.
If one inspects the outside walls at this height, one might already see the entrance to the "Whale room".
Whale Room[]
The Whale Room.
Half way filled Whale Room, good time to fly up and visit the Whale.
Alternative Names: Memorial Hall Here is a Glyph and a Symbol (and under circumstances a Trophy).
As mentioned above, the room is accessible at any level of Goo. Ways to find it:
- Once the Jellyfish are released, fly to the next-to-activate Glyph; from there you can see the entrance of the room (you know where it starts swimming normally, after activating the Glyph). If the Glyph is activated it might be harder to find the entrance, due to the Goo.
- Flying directly to the room, when the Whale comes out. The Whale will drag you a bit, just keep flying forward to the entrance then. Or take a round with it and look at the outside walls to find the entrance.
- Also after releasing the Jellyfish: Fly to the middle room (no goo there) and take a look around, the entrance is closer, it might be easier to see. Using Jellyfish might not bring you directly to it, many use the ledges on the pillars left/right to the whale room entrance to climb higher.
- "Easy" way: once the Goo is fully up, go to the bridge that leads to the next level. At the end of it just drop down, still looking towards the end of the level. While slowly floating down you will pass the entrance of the room.
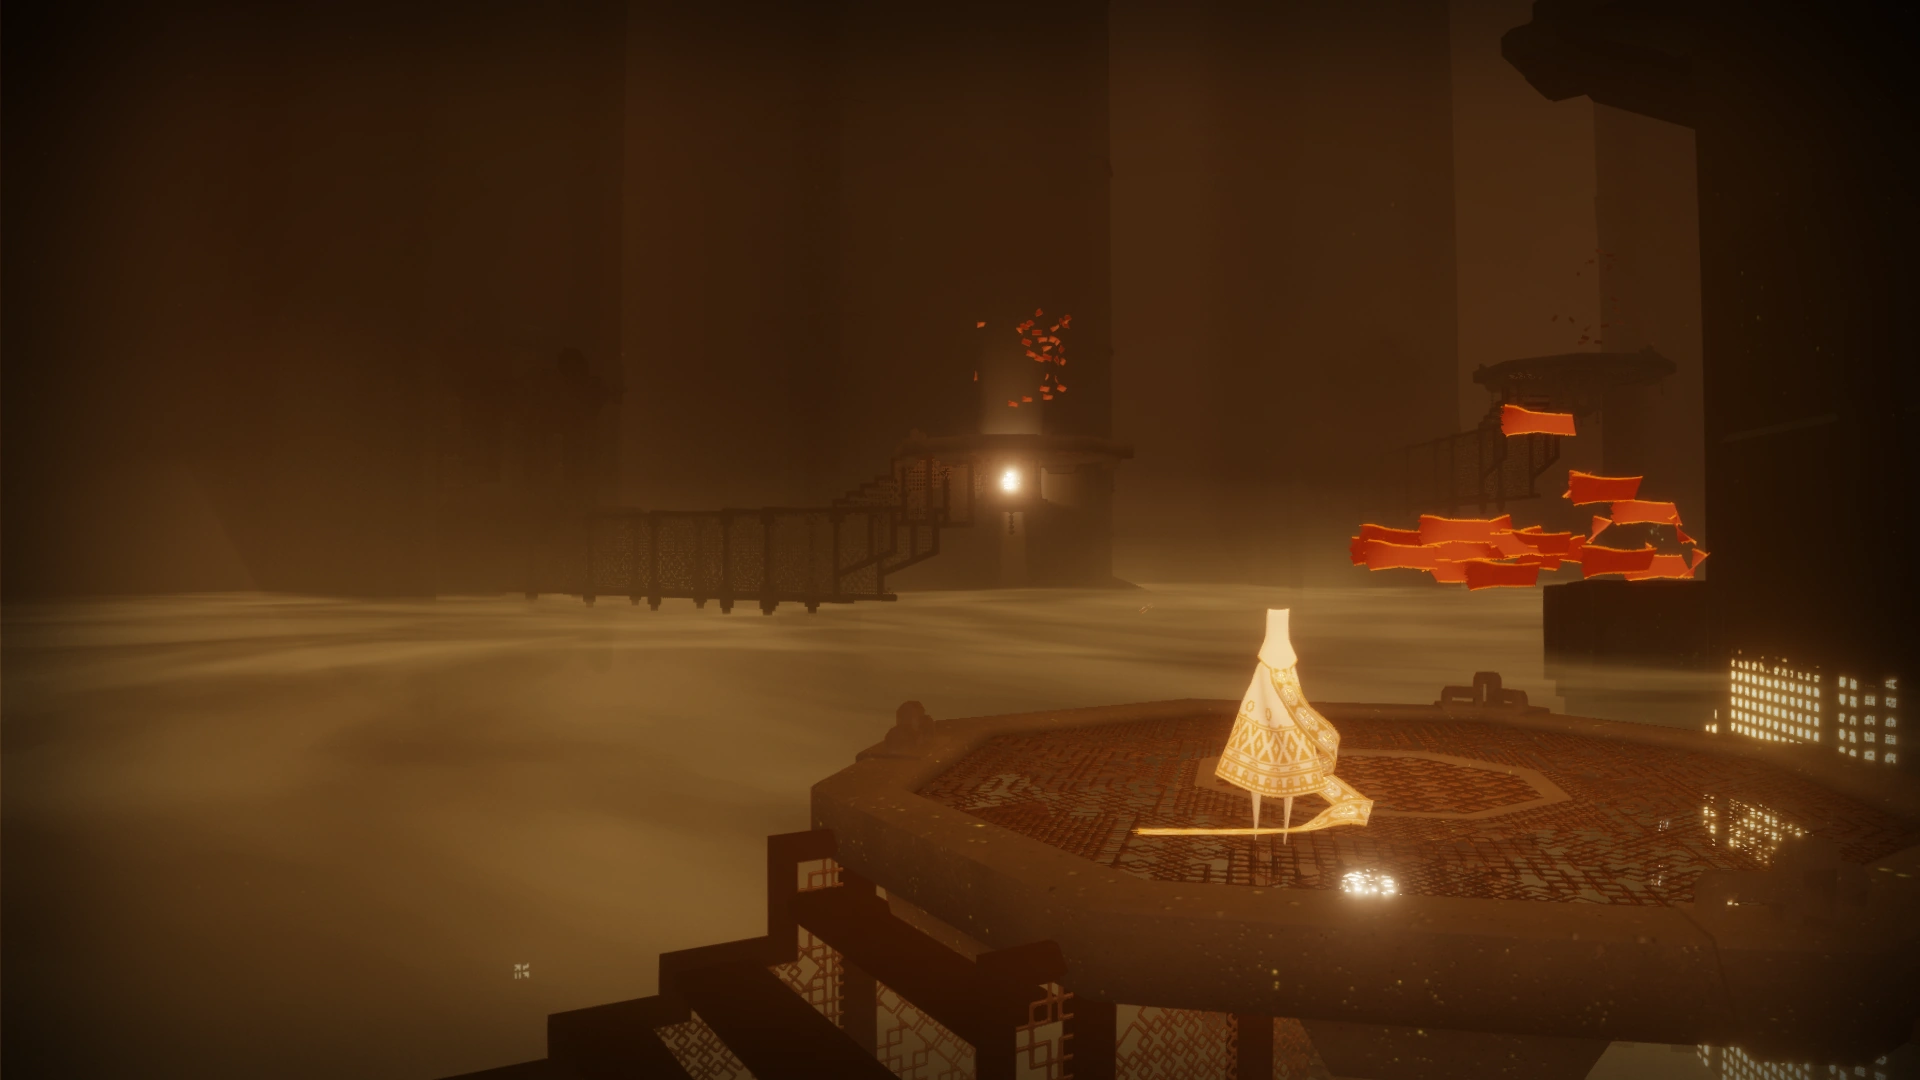
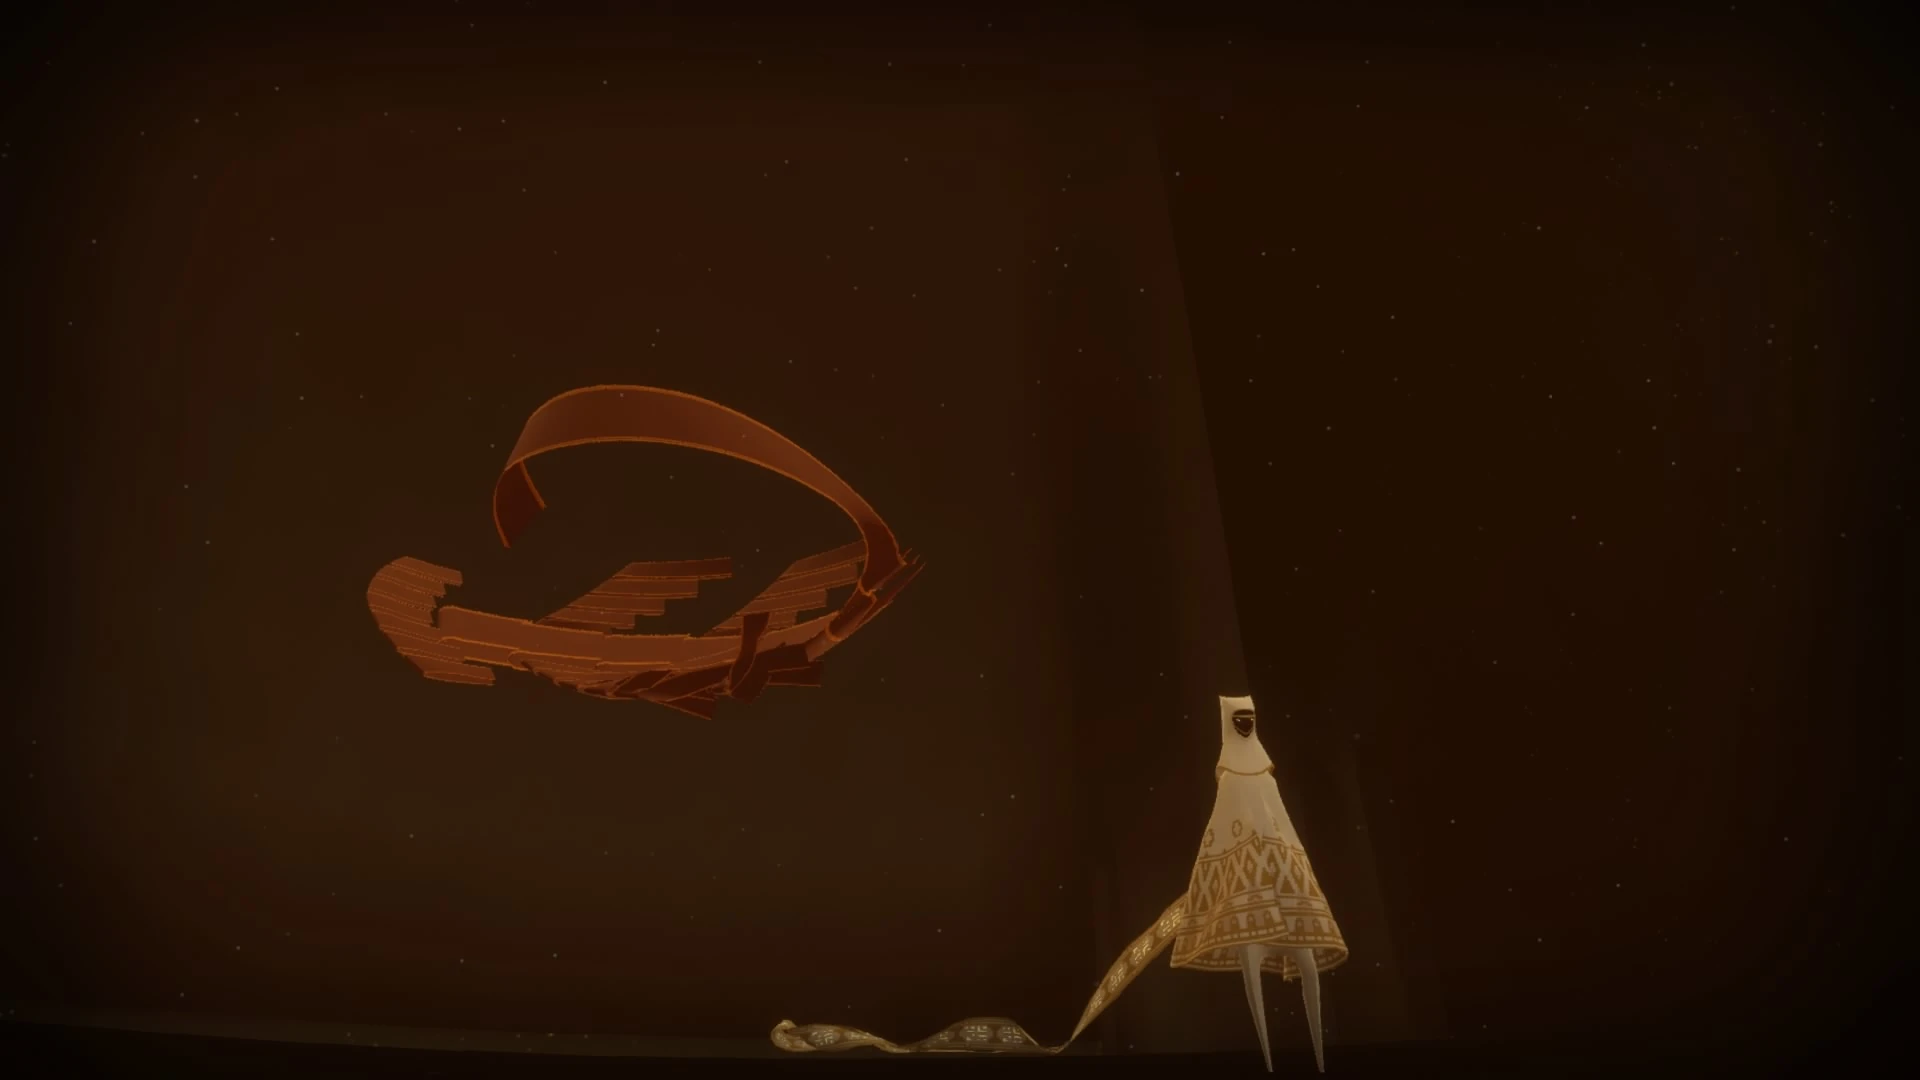
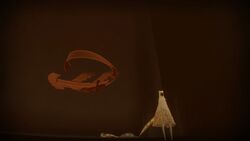
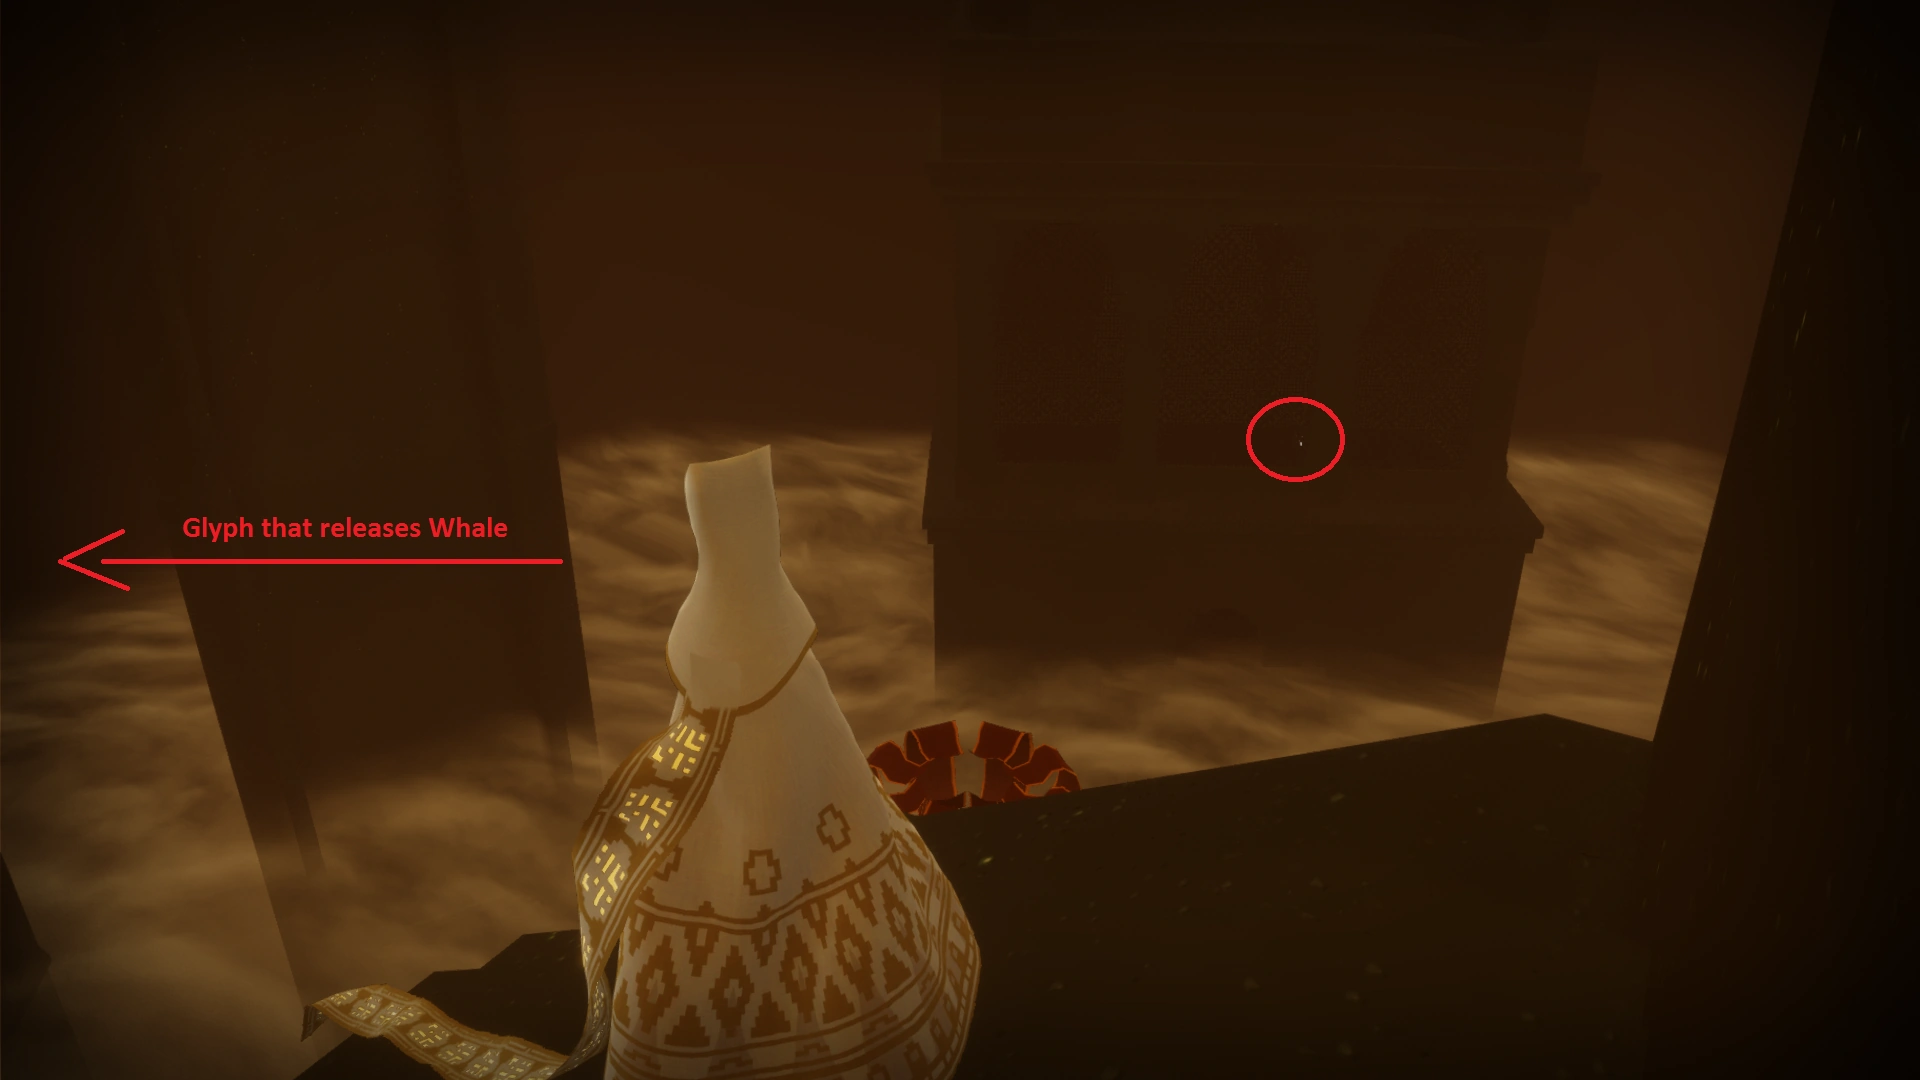
Glyph 3 - Whale[]

Glyph 3: Whale released, riding it to next Glyph.
Shows the Underground level.
Room in the middle: Yellowish dots (like energy) flooding the room.
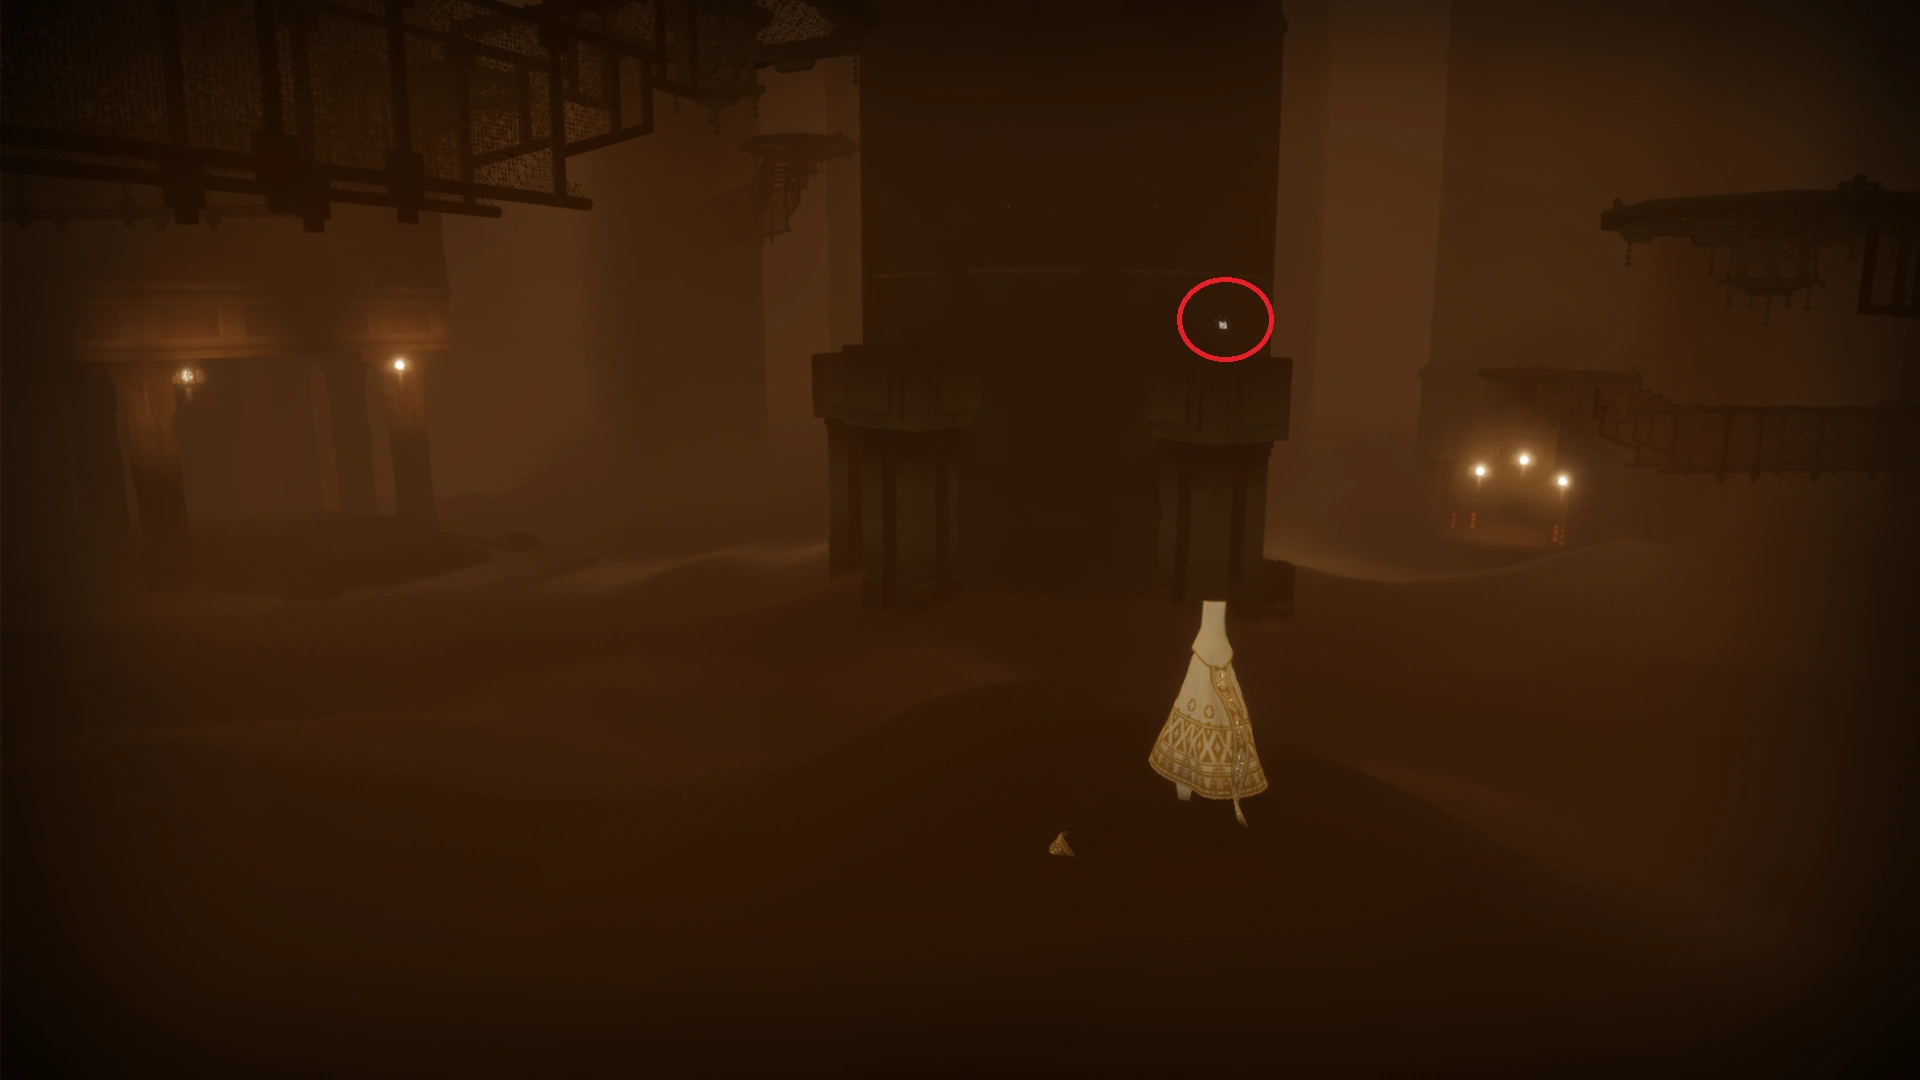
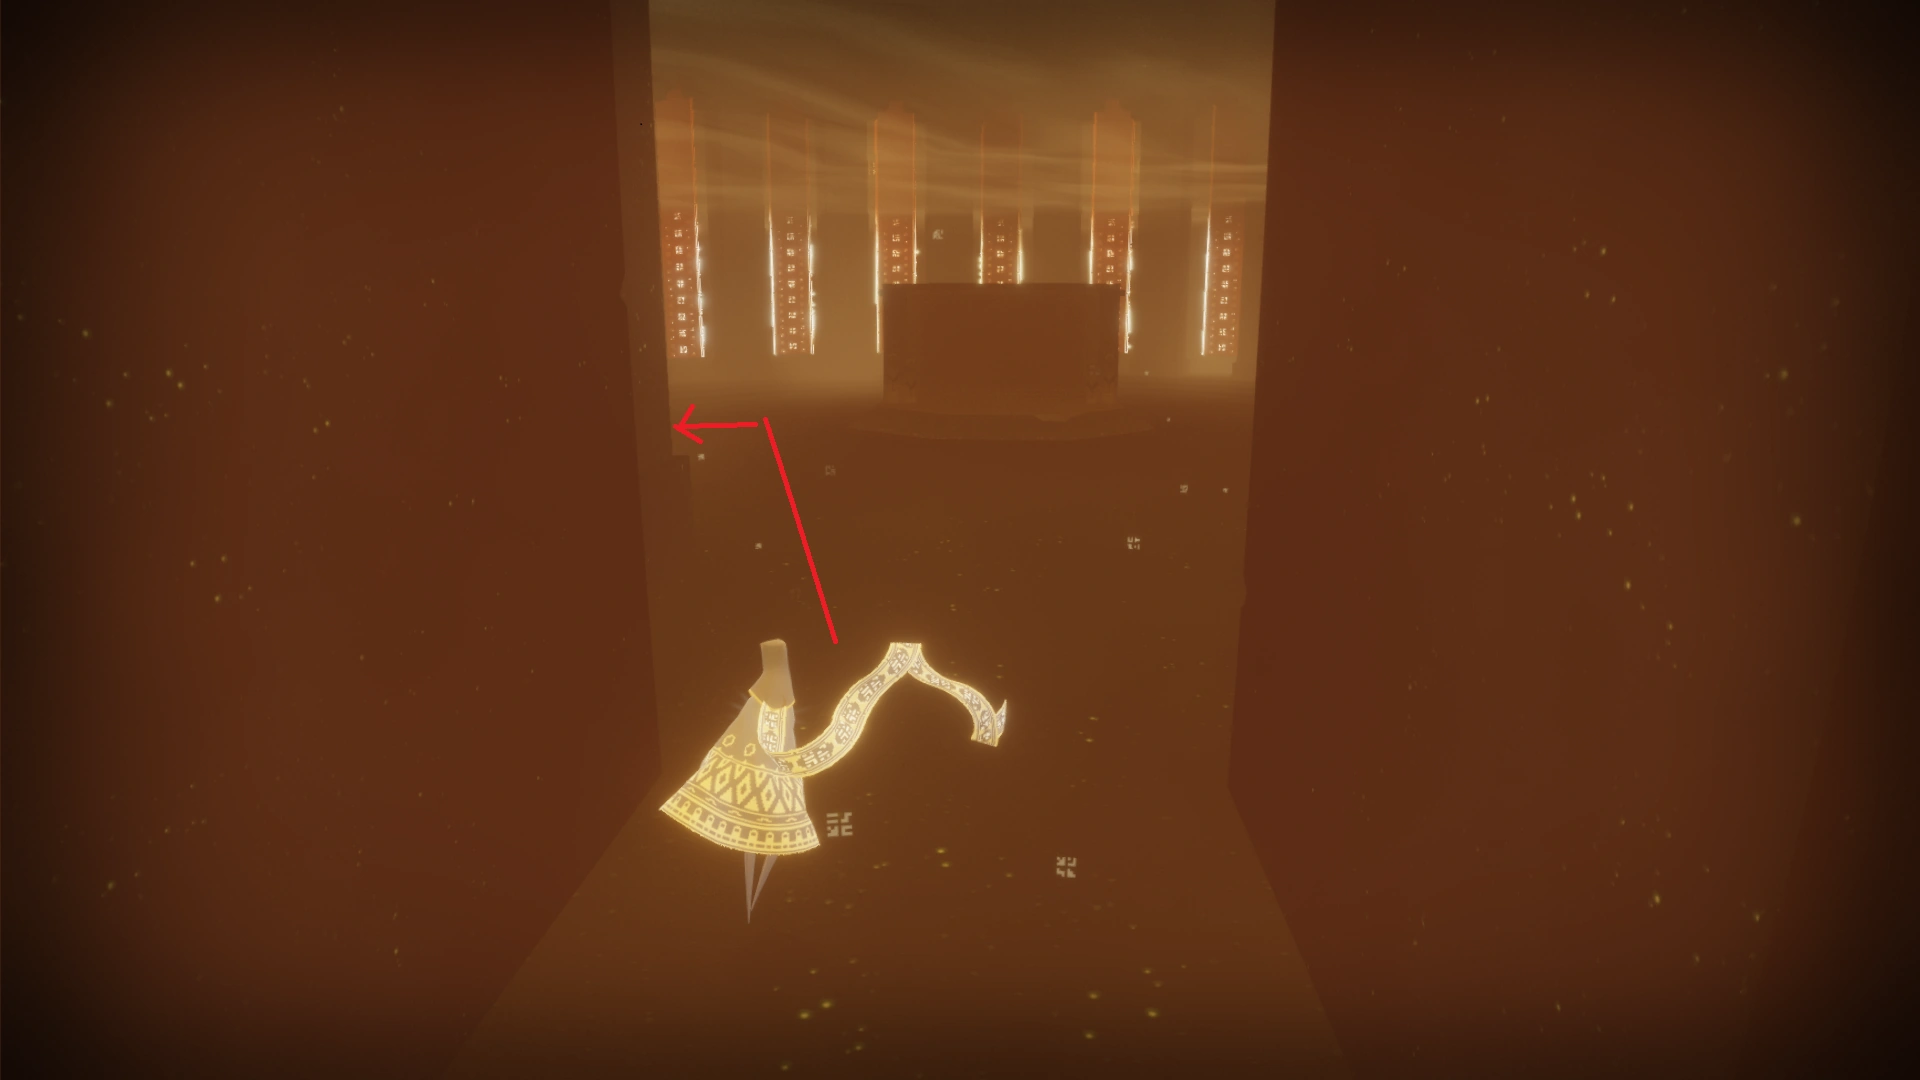
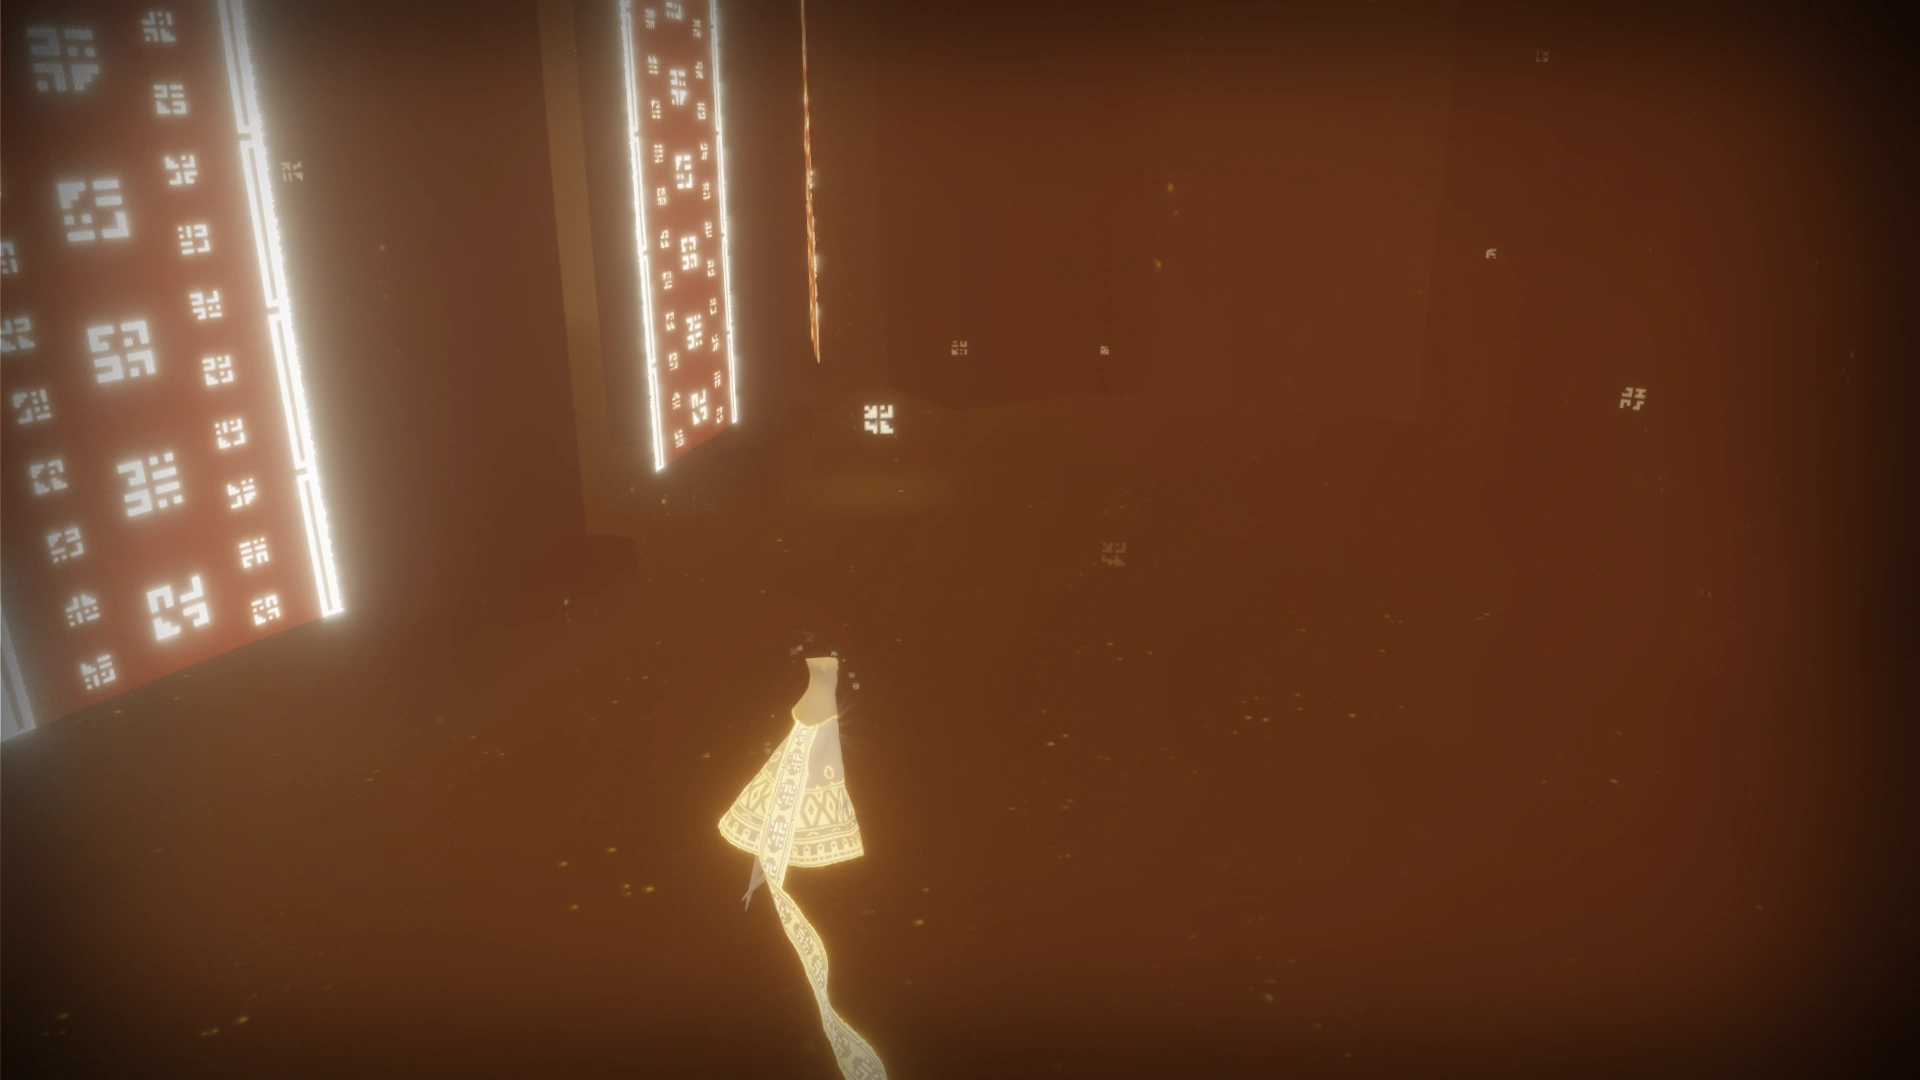
After activating the Glyph, the Jellyfish will sink a bit, the camera will turn to show you the whale leaving its room. When standing on the Glyph platform and looking to the left, a bit below the Glyph, one can see the side temple, where a Symbol is located. With Goo up, its harder to see from far though.
The Whale will stoically fly its round, passing the entrance of the room where it came from and also the next Glyph. While riding on the Whale, a Symbol can be seen when looking to the middle room at that height. At the Glyph you simply jump off the Whale to reach it.
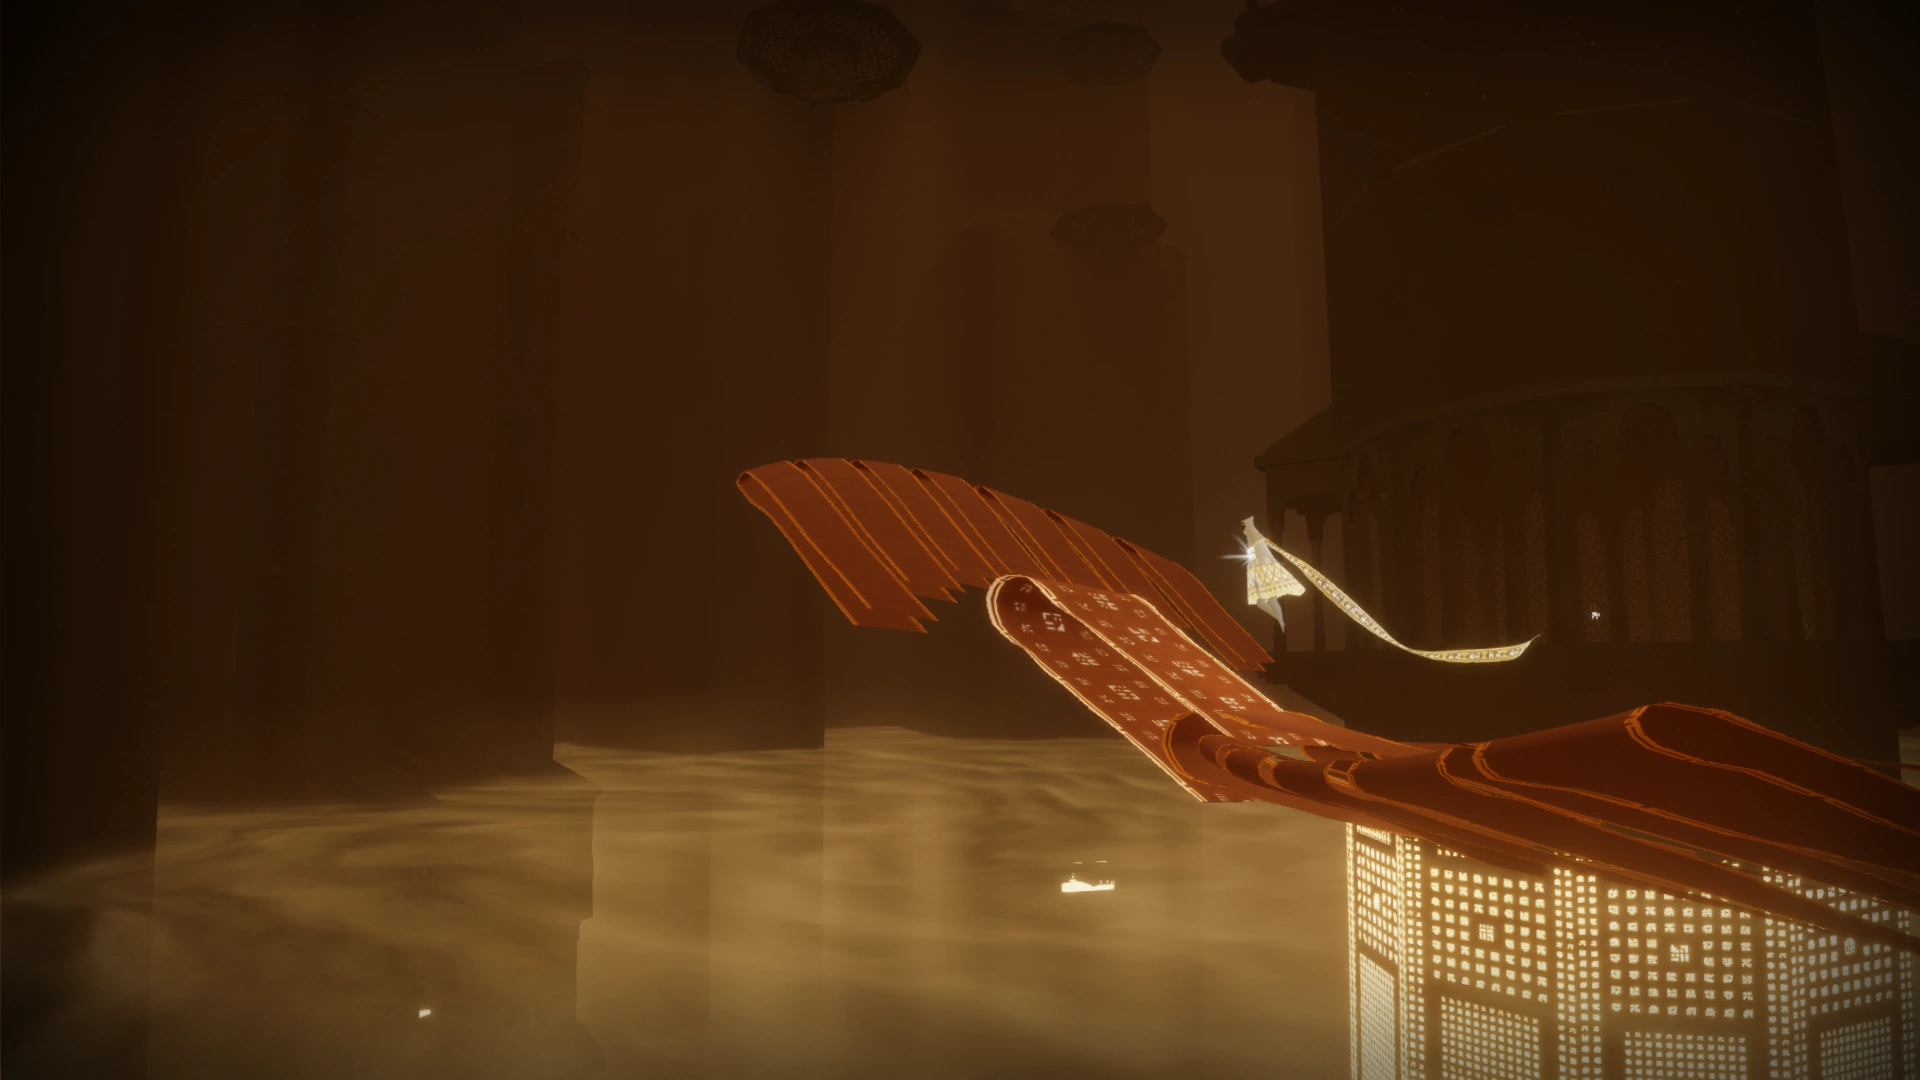
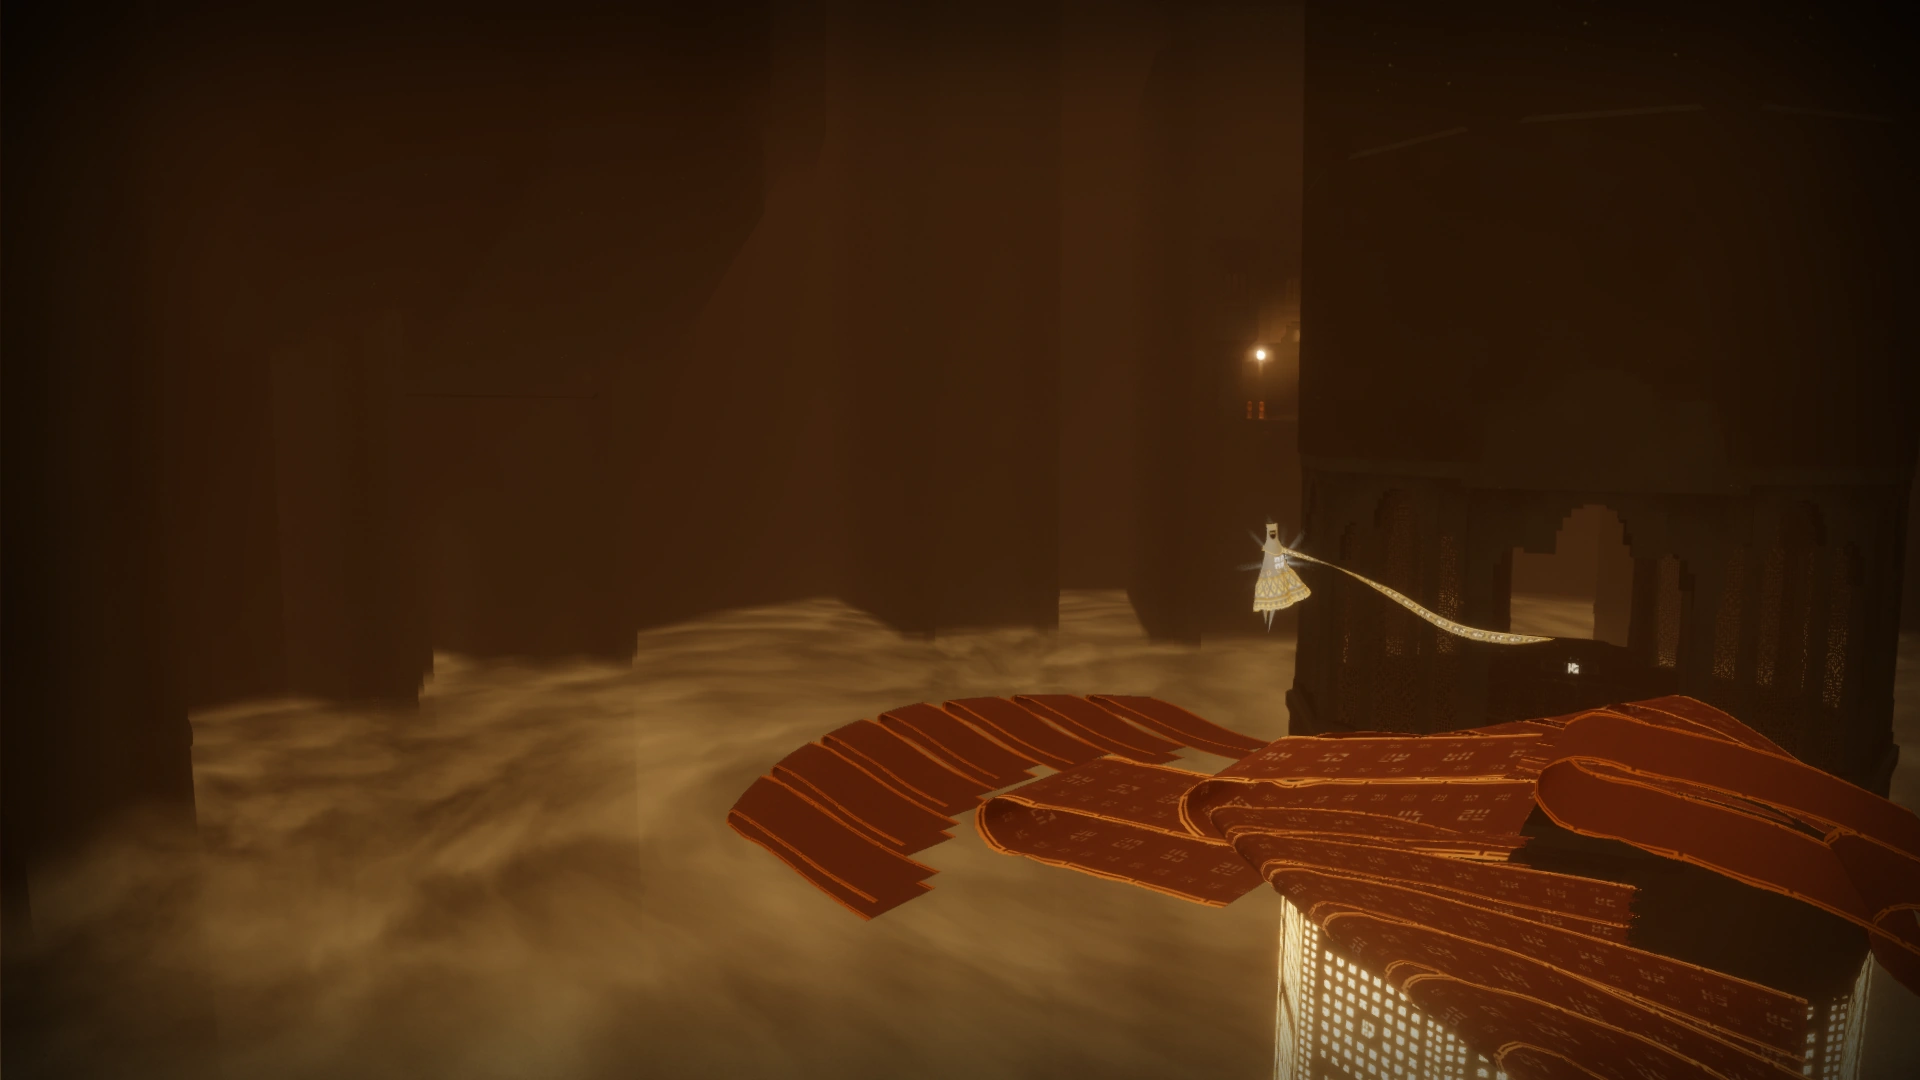
Glyph 4 - Platforms[]
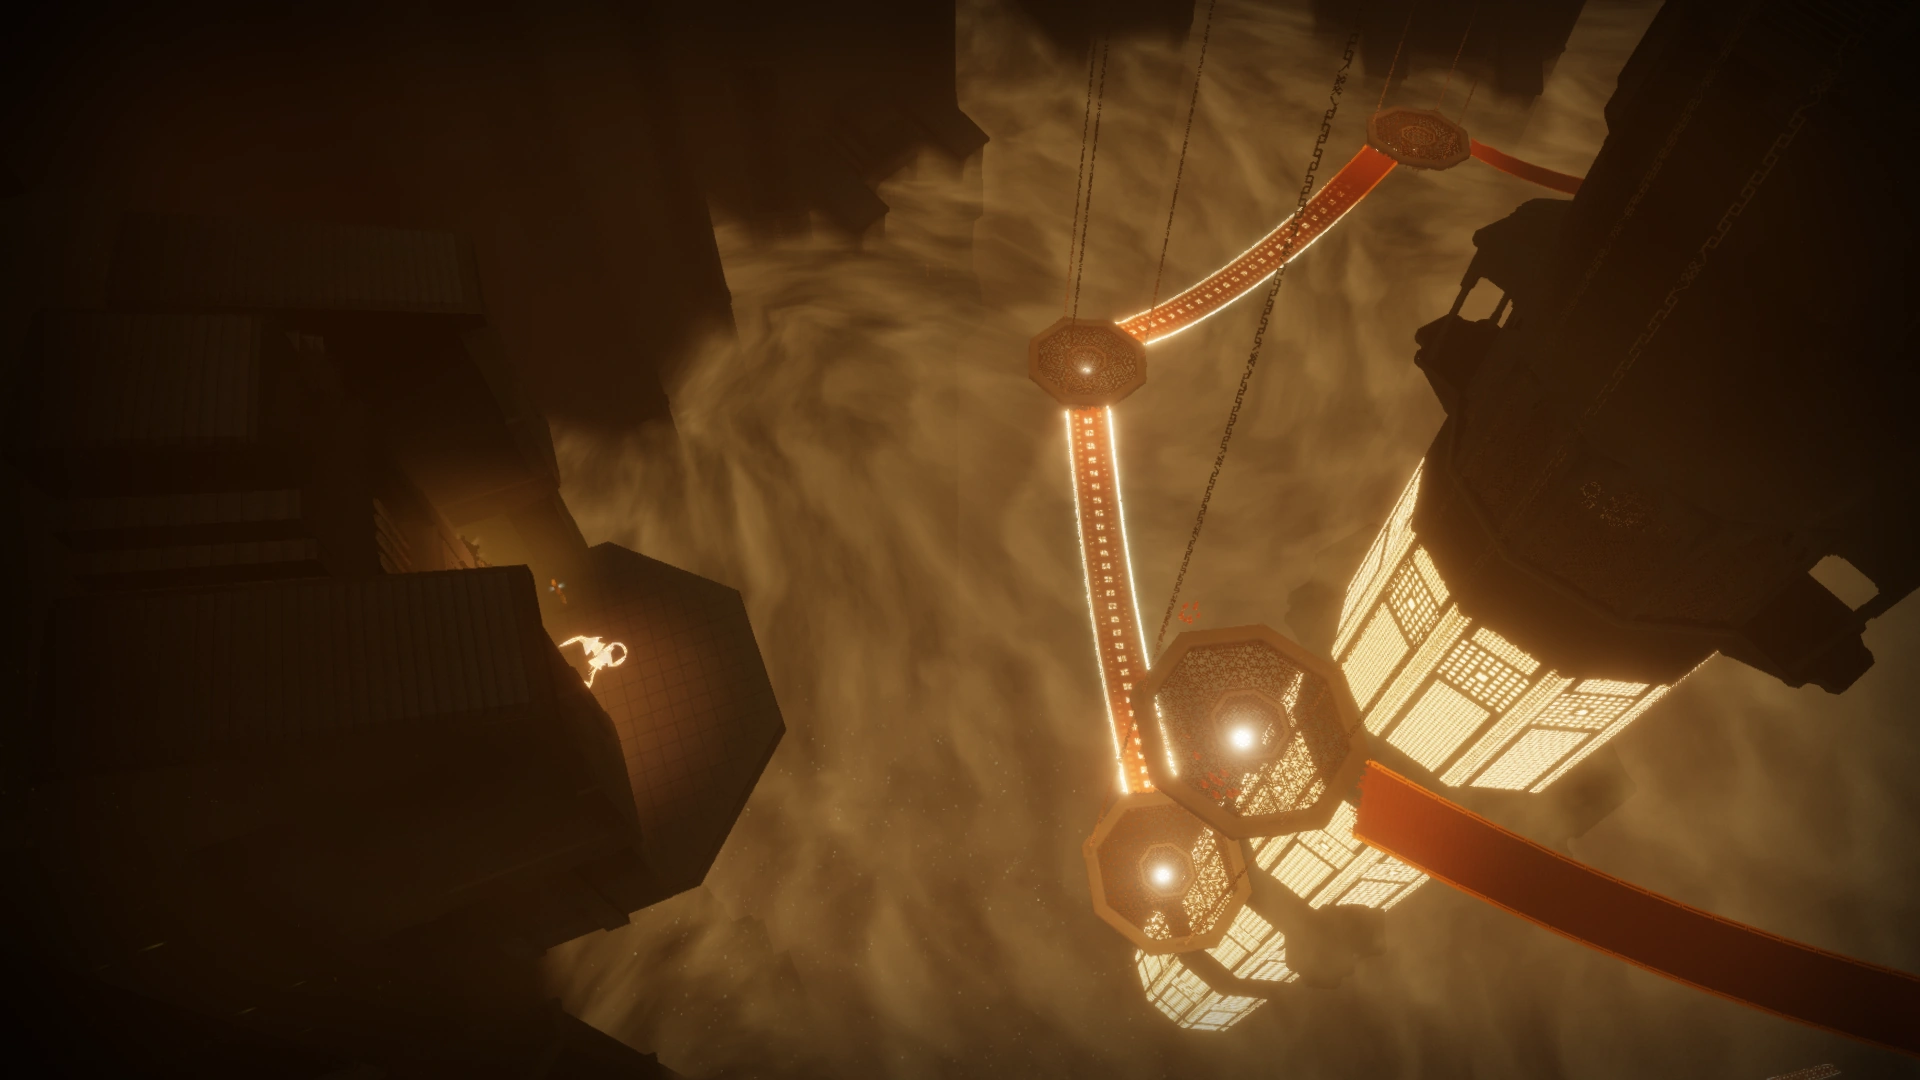

Glyph 4: you can see the Banner-walkway used to get from Glyph 4 to Glyph 5 seen in the picture.
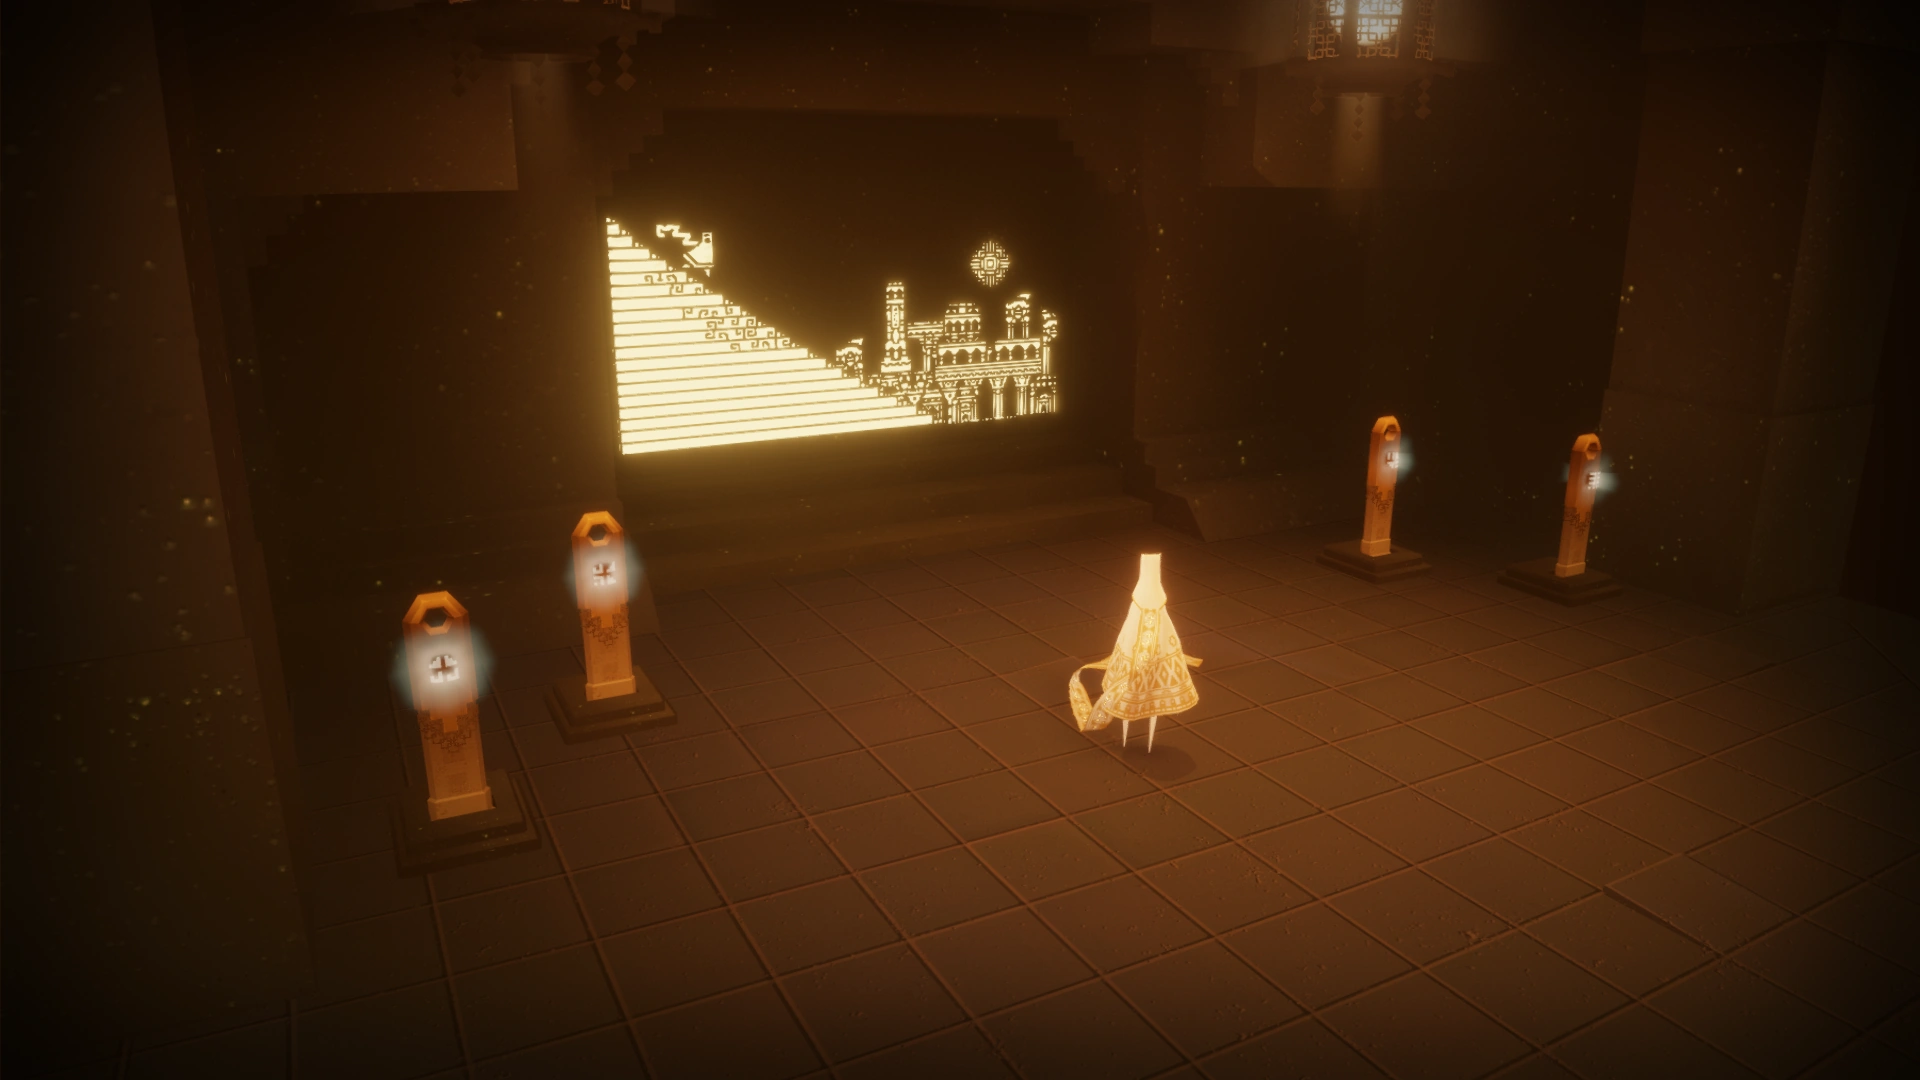
Shows the Broken Bridge level.
Room in the middle: Yellowish dots (like energy) flooding the room.
Around the tower are again platforms placed, each one higher then the other. They are mounted to the ceiling with chains.
After activating the Glyph you can reach the lowest platform, just through flying and using the Goo. Banner between platforms will build, once you touch them. The last platform is actually just above the first one. It is not too hard to skip the banner-walkway and just flying up directly to the last platform. Chirping at the Flyers above the last platform will help to reach it.
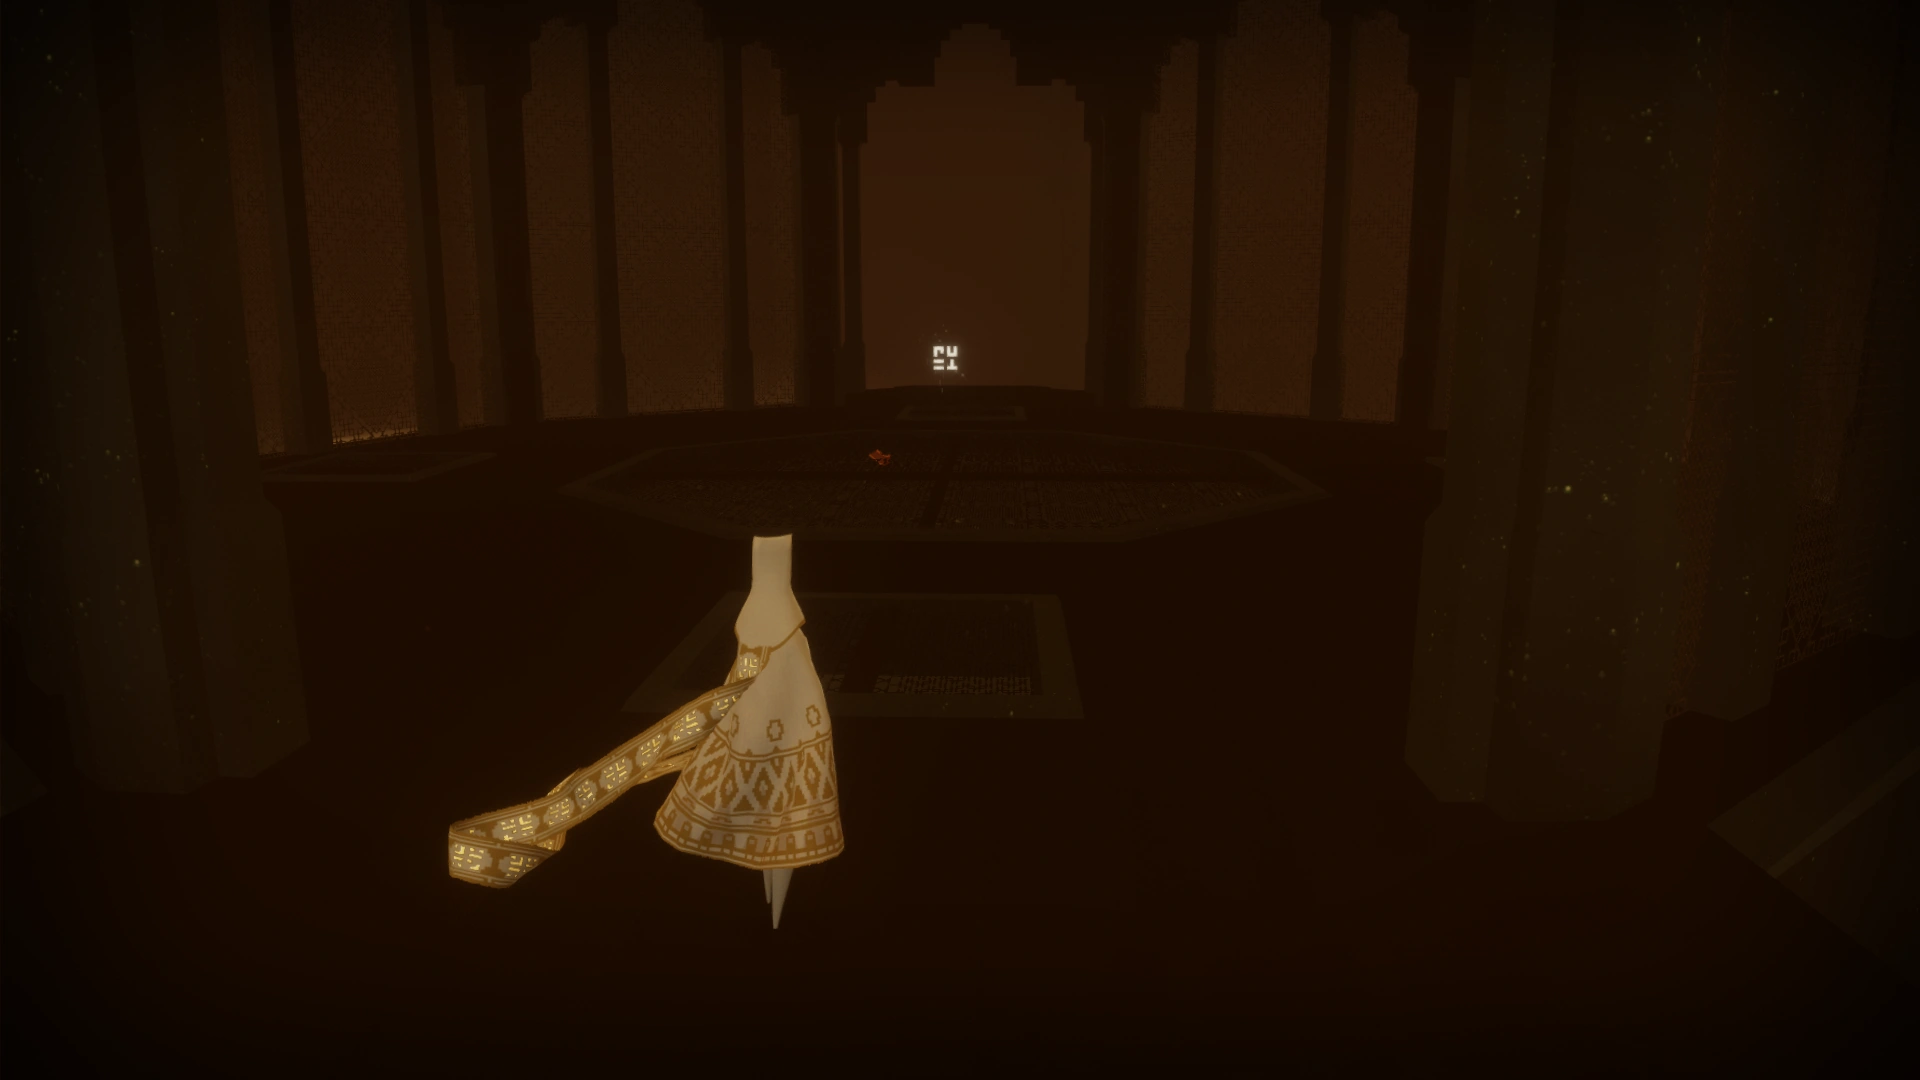
Glyph 5 - Shrine[]
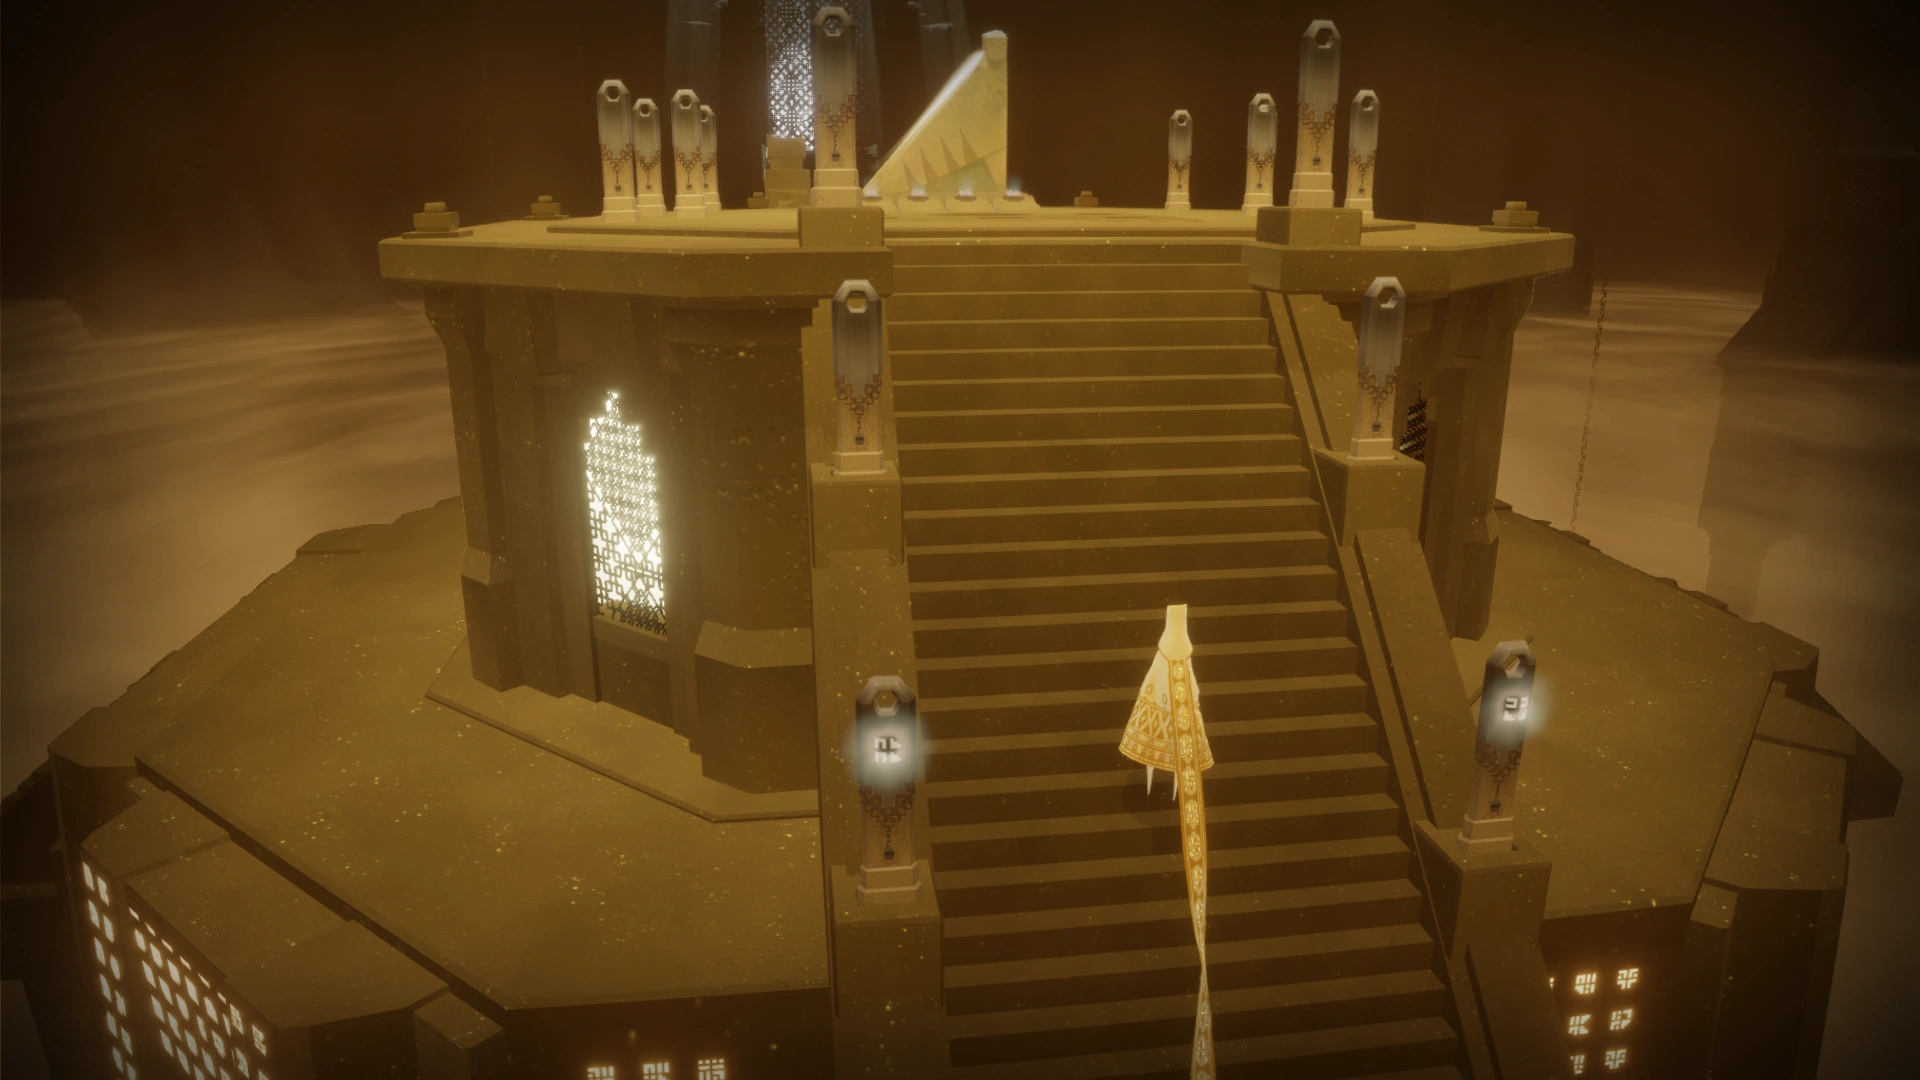

Top of Tower, location of the Shrine.
Shows the Sunken City level.
Room in the middle: Yellowish dots (like energy) flooding the room.
After the activation you can reach the top of the Tower, where the Shrine is.
Tower Top[]

Towards the next level.
If you stand on the top and look around, you will recognise that the side glyphs start lightning up when you look at them. The Glyphs that were activated before, are blank now. The Glyphs showing the levels are not in level order, see above.
Sometimes players forget to activate the stones further away from the statue or the bubble just did not reach the ones on the stairs.


Tips and Tricks[]
 Connection and Companion hints[]
- General hints on connection and specifically for this level can be found here: To connect or to disconnect!
- Common disconnect times in this level: Activating a Glyph while the Companion is too far away, it needs some experience to know which position is still ok. Always save is to stand together at the Glyph, when activating it.
- Some players find it easier to grab symbols without Goo. That's why companions may want to lead to the symbols before activating the Glyph.
- Jellyfish might not be always at the same place for both players. If you see your Companion hovering in the air and glowing, they are most likely sitting on a Jellyfish. On the other side, they also might see you sitting you in the air. Sometimes the Whale and even the Goo could be also out of sync.
- When pushing Companions from the Tower (see Trick in the Tower), its advantageous to follow down a bit. Sometimes a disconnect by distance can happen, when one is on top and the other enjoys slowly moving while sitting on the ground/bottom...
Tricks in the Tower[]
There are many things you can do in the Tower, list needs to be expanded.
Visiting the Whale in his room[]
The Whale in his room. From this ledge you can just fly over to circle with him.
Is a thing many people like to show to newcomers or just do it, because they like it. As often, there are several chances to do this (as long as the Whale is not released of course).
The easiest is to go to the Whale Room when having the Jellyfish. The Goo is only half way up at the Whale Room, you can visit the room rather easy with the help of the Goo.
Once in the room: fly up the banners to a ledge and then towards the middle of the room.
Dry Climbing the Tower[]
A common thing for regular players. Its "Medium" when still learning routes to go. With a leading Companion dry climbing the tower is often nothing more then a smooth walk/fly.
On the outside walls, there are some protrusions/half sticking out pillars and some of those have little ledges in regulary distance from bottom to top. Those are often used to help climbing up, but there are ways to avoid those.
- Possible route:
Multiple routes, varies with skill, robe, scarf, optimal? to be filled...
Falling from tower[]
Many players like to do this or teach it in game. They will sit down on top of the tower, close to an edge. The Companion is supposed to push them off, so they will drop down very fast, although there is goo. Teaching it often looks like two players standing up and sitting down constantly, the Companion needs to learn to stay seated and trust, while being pushed off the ledge.
If you are lucky or experienced you can hit platforms, the whale, jellyfish and bounce off or just sit on them in the end. Try it out! Great fun!
No Companion around to push you off, but you still want to fall to the bottom in hyperspeed? Learning the Zen jump will help you out:
Faceplant and falling down tower[]
This needs timing and the knowledge of how to Faceplant.
| Its possible to glitch the whale in several ways (see Whale in Tower (Glitched). | |
| Spoilers end here. | |
Trophies, Glyphs, Symbols[]

Mysterious Creature at the bottom of the Tower.

Mysterious Creature in the Whale Room.
Trophy[]
Find a mysterious creature hidden in the temple.
Once you raised the goo to the top, the Mysterious Creature will appear at either one of those two places, depending on where you go first:
- from bottom: first room in the Tower
- patrolling behind the curtains/Banners in the whale room
![]() Easy way to the Whale Room, after activating the last Glyph: Walk on the bridge that leads to the next level, almost to the end. Then simply drop down and let yourself float down, you will directly pass the rather narrow entrance of the Whale Room.
Easy way to the Whale Room, after activating the last Glyph: Walk on the bridge that leads to the next level, almost to the end. Then simply drop down and let yourself float down, you will directly pass the rather narrow entrance of the Whale Room.
| You can see one or even two mysterious creatures in the Out of Bounds (OOB) area of this level. If not familiar with the "Expert Mode" of the Wiki, consider reading the introduction article: Expert Mode. | |
| Spoilers end here. | |

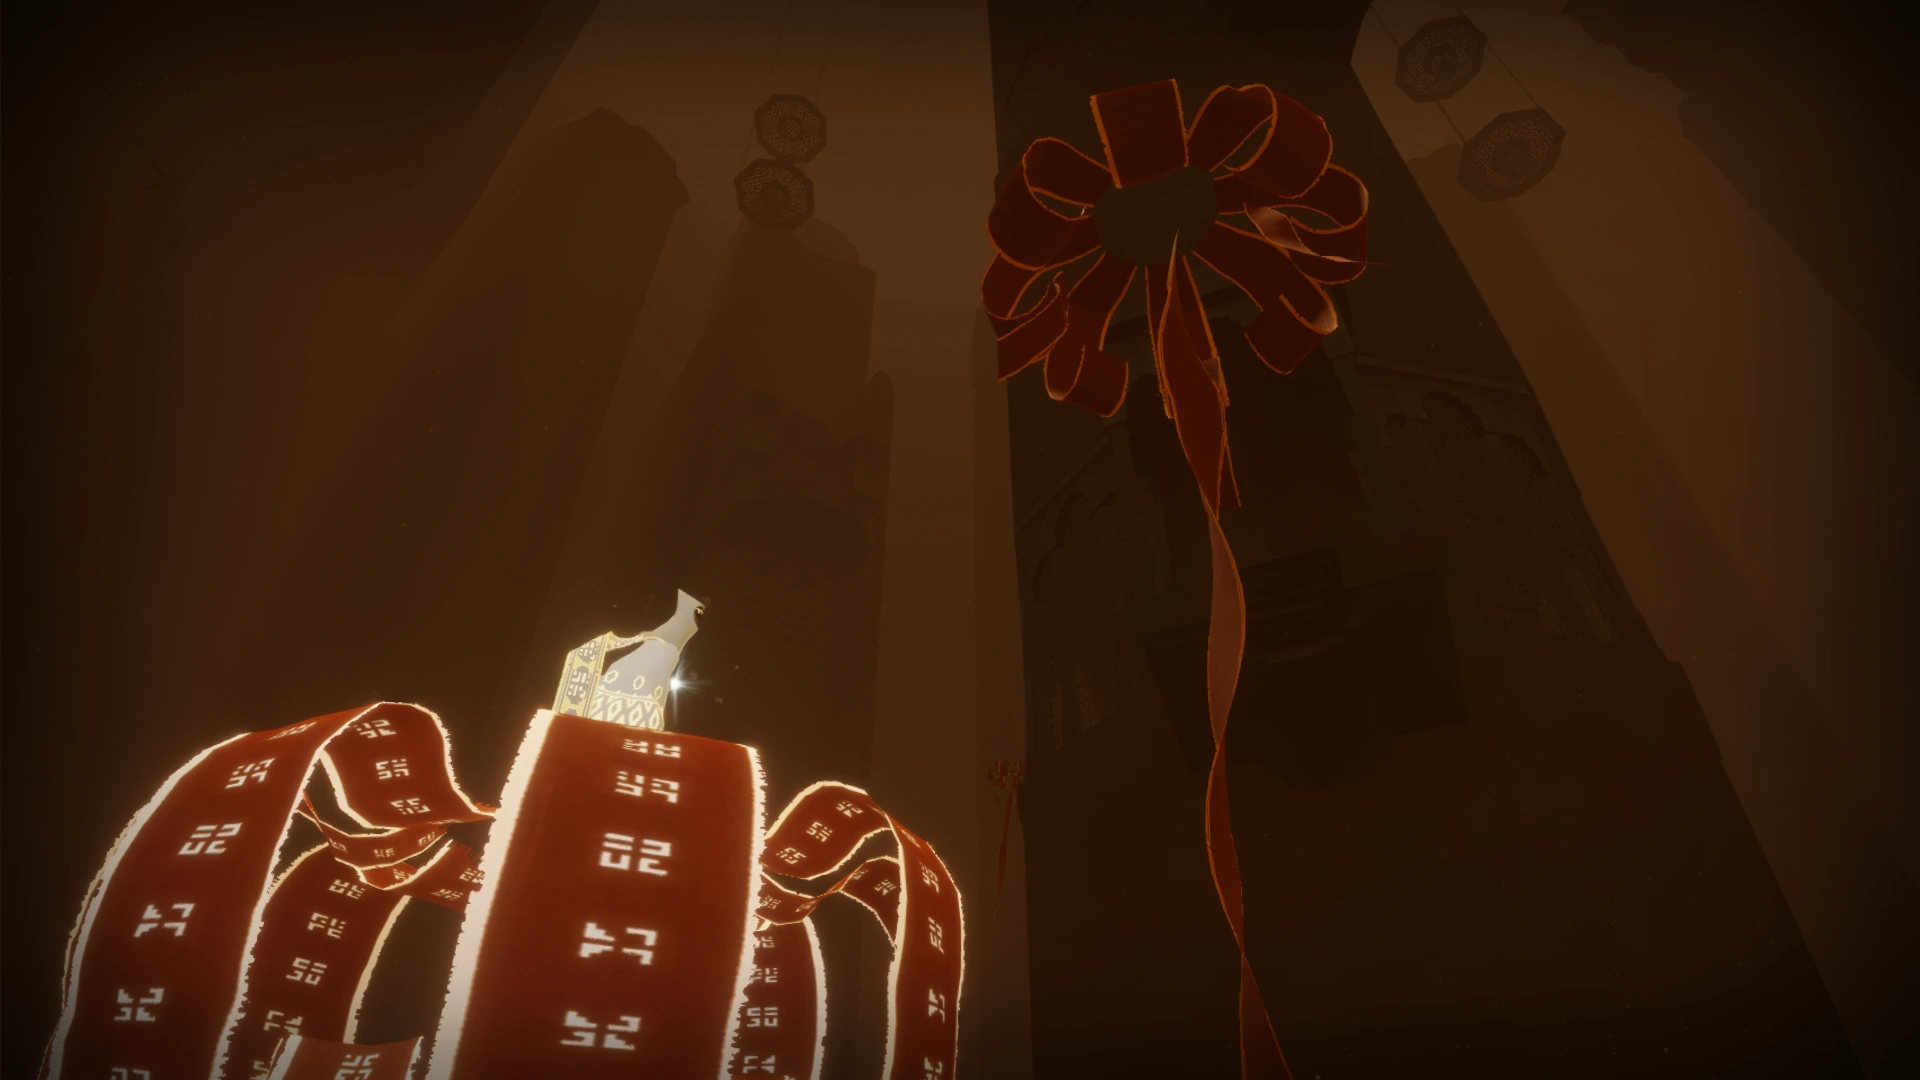
The only Glyph in Tower that counts for the Trophy.
Glyph[]
It is located in the Whale Room.
- Common interpretations:
- The Ancient Glyph found in the Tower level suggests that the Tower is actually a grand tomb monument for (a leader-like ?) figure among the Ancestors.
- They are extracting soul power (turning it into the fog that charges our cloth).
- Or the other way around: The Tower is used to revive people.
Symbols[]
From bottom to top. In which order you get the Symbols 2-3 is your or your Companions personal preference. Some like to grab the Whale Room Symbol first (no Goo in the room), then fly to the other side to the Side Temple, then up to the Glyph to release the Whale and then grab the Middle Room-Symbol.
Since there is also a Trophy in the Whale Room, some totally dismiss the Symbol there while climbing the Tower. They just go down there after activating the last Glyph, for the Symbol and Trophy.
- Symbol 1: Bottom

The entrance of the level at the left side and the first Glyph on the right. As Red Robe its easy to get, once the Glyph is activated.
- Symbol 2: Side Temple

After activating the second Glyph, use the Jellyfish to get to the middle room or close to the next Glyph (see next image).

The fourth Glyph and the side temple to the right, below it. The Symbol could be seen from here or the middle room.
Even if you drop before reaching the Side Temple, the Goo level here is enough to be able to just jump up and into the temple.
Of course, sometimes the game can make it hard to see the Symbols...
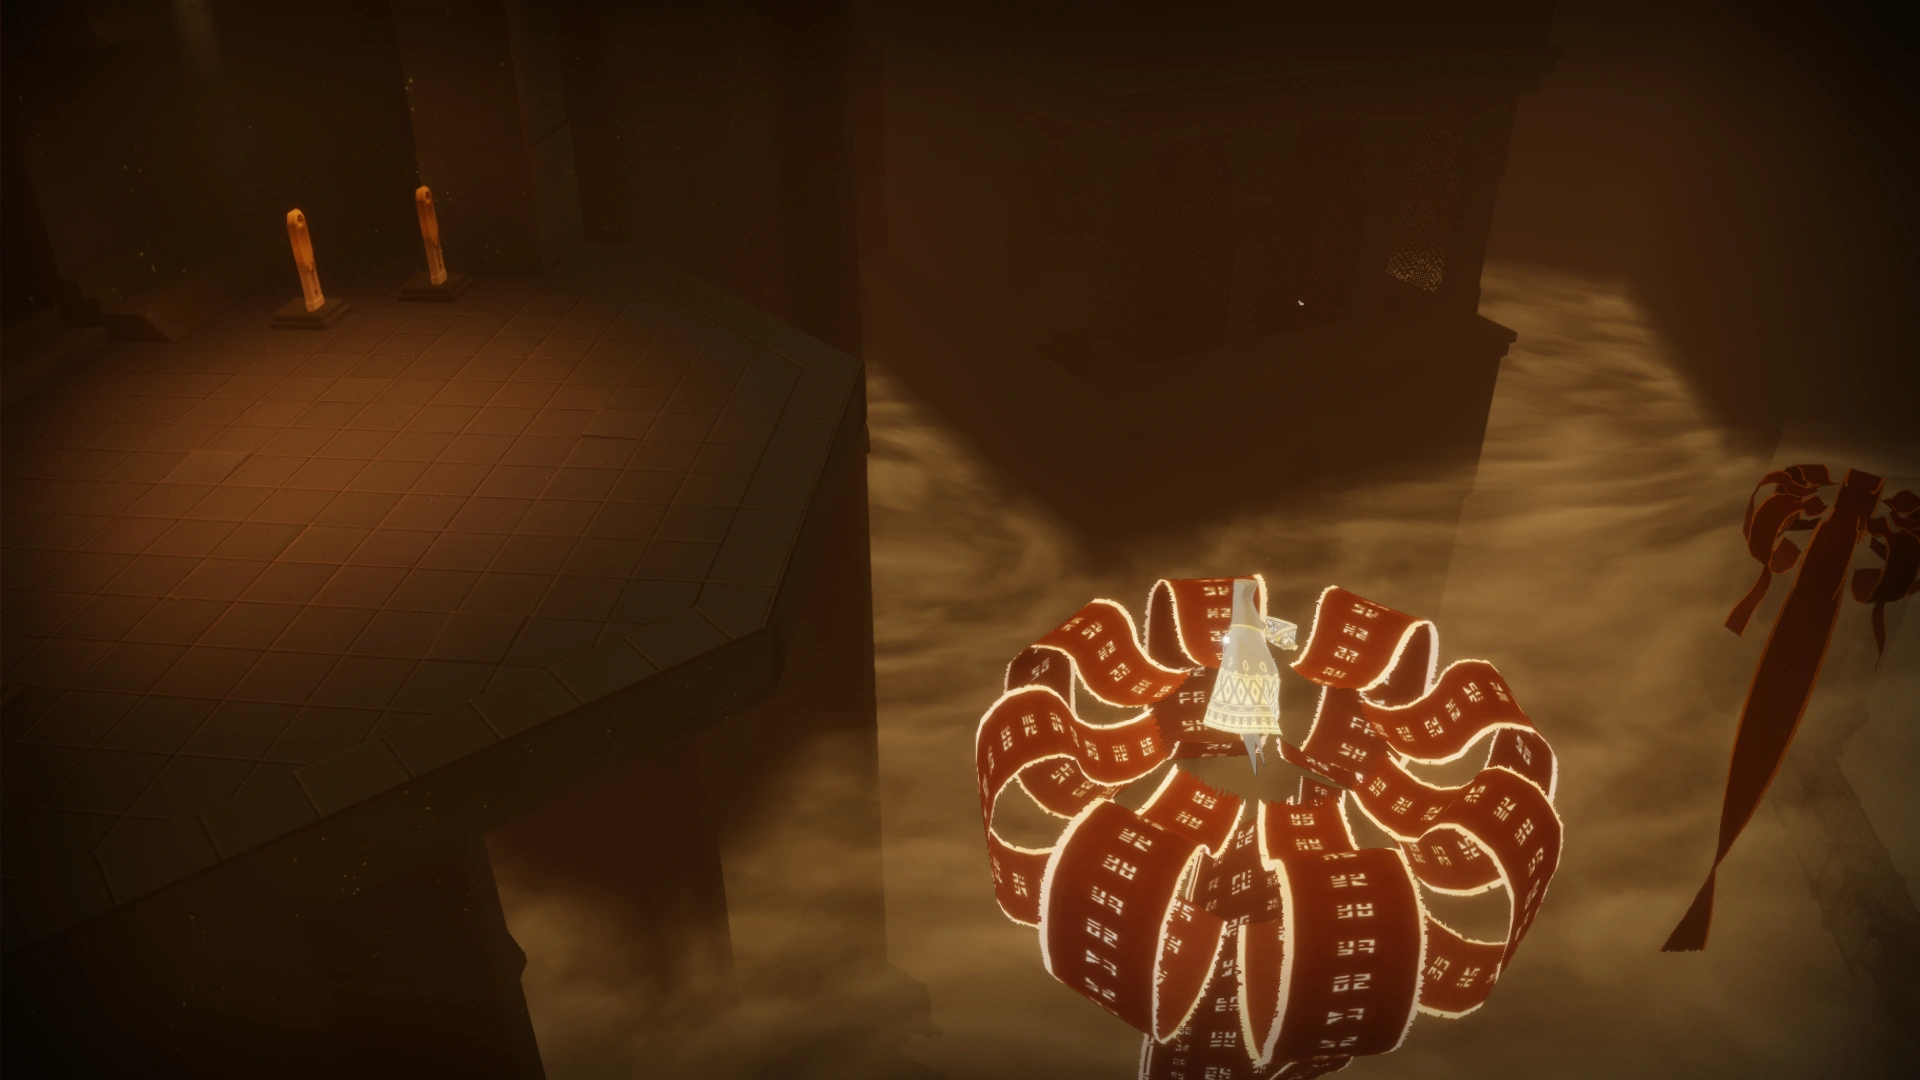
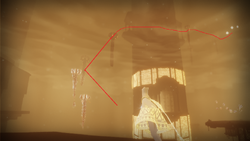
- Symbol 3: Whale Room
Entrance of the Whale Room. Follow the red arrow.
The Symbol is right behind a pillar. Hints on how to find the Whale Room are here Ancestors Trophy.
- Symbol 4: Middle Room
After activating the third Glyph, you can ride the Whale. Simply look to the middle then and jump off the Whale in time.
Its "nicer" to pick, before activating the next Glyph. You do not hover around then. You can use the recharging energy after picking the Symbol to fly directly to the next Glyph.
A Companion can also help to cross the gap to the next Glyph or you simply wait for the Whale to fly by and use that charge to reach it.
Trivia[]
- This level used to be part of the Underground level but was split off because lead artist Matt Nava felt he needed a separate color palette for it.[2]
- This level was called "Ruins" in the original game concept and files, although it's not clear where the separation between "Cave" and "Ruins" (now "Underground" and "Tower") initially was.[2]
- The developers mentioned in their commentary that in a very early concept of this level, the central tower was supposed to be a space rocket serving as a last resort "ark" for the dying civilization. They expressed their happiness that this concept was scraped.[2]
- The tower itself is called "Grave Tower" in game files.
- Lanterns in the Tower spin when they are lit and are static when not lit. The only exception is lanterns at the start of the level. (The sole lantern in the Snow also spins when lit).
- The Glyphs are actually moving up each time another level of Goo is activated.
- Activating a later mural will trigger the usual stuff in the lower levels except some spawns and will render the previous murals unusable, be quick to trigger a lower mural to lower the goo if desired!
| The very top layer of this level is almost identical to the ruins of the Chapter Select area, the only major difference being that most of the structure is now intact. | |
| Spoilers end here. | |
Quotes[]
| “ | ...people asked me, what is my favourite area of the game. (...) I think this area, this level, for me is it. | „ |
| ~ Austin Wintory, Journey developers commentary. |
Quotes about the real purpose of the Tower[]
| “ | So... a realization just came to me...
Tower level right? There's a lot of cloth inside. There's also that hole in the roof as if it was made so someone could throw something inside. It has circular shape and that goo/water thing that fills it up. You have to - sort of - power that place up to make the goo flow inside. The goo has that purifying feel to it. And cloth needs some refreshment right? In a world where cloth is sacred, the place for cloth purification would be considered a sacred place - a temple. After 9 years I finally came to the conclusion that Tower level is...
If you abbreviate the word "washing machine" you'll get WM. Coincidence? I don't think so :) |
„ |
| ~ Paleologos on Discord, 2021-05-08 |
| “ | Kirango Rouge the temple of cleanliness xD
the ancients: "you can go outside kid, but don't dare come back to paradise before taking a shower" The gardians in the snow level: "YOU MISSED A SPOOOOT!"
That makes sense And there can be 2 travelers at once, circling around the tower with lots of cloth interactions Therefore travelers are Tide Pods
|
„ |
See also[]
2 Broken Bridge (BB)
3 Pink Desert (PD)
4 Sunken City (SC)
5 Underground (UG)
6 Tower
7 Snow
8 Paradise
9 Credits
Category:Levels
2 Broken Bridge (BB)
3 Pink Desert (PD)
4 Sunken City (SC)
5 Underground (UG)
6 Tower
7 Snow
8 Paradise
9 Credits
Category:Levels
Recommended How to play guide for Journey • Chirp/Scarf • Tandem Flying • Dusting / to dust/Common Behaviors • Companions Met Along the Way (CMATW)
Frequently Asked Questions • PC Version FAQ •
2 Broken Bridge (BB)
3 Pink Desert (PD)
4 Sunken City (SC)
5 Underground (UG)
6 Tower
7 Snow
8 Paradise
9 Credits
Category:Levels
2 Broken Bridge (BB)
3 Pink Desert (PD)
4 Sunken City (SC)
5 Underground (UG)
6 Tower
7 Snow
8 Paradise
9 Credits
Category:Levels
Recommended How to play guide for Journey • Chirp/Scarf • Tandem Flying • Dusting / to dust/Common Behaviors • Companions Met Along the Way (CMATW)
Frequently Asked Questions • PC Version FAQ •